How To Guide: Moon & Star Photography


Astrophotography is great fun, but it can be a daunting prospect for those with little experience. It needn’t be difficult or expensive though; there are plenty of techniques for creating great photos of the night sky which are very straight forward and won’t break the bank. In this post I’ll go through the basic set up you will need to create moon photos, starry skies and night-time self portrait composites, all using very basic equipment and editing software.
Creating Moon Photos
Equipment Needed:
Camera with manual mode
Zoom lens (preferably 300mm or more)
The first thing you need to understand about the moon is that it is incredibly bright. This is why it’s really difficult to take a decent photo of the moon with a phone camera as the phone cannot cope with the massive contrast between the dark night sky and the very bright moon. Unlike star photography, you will need very fast shutter speeds to capture the moon with any sharpness. This is because the moon is a lot closer, so you will start to capture motion blur of it’s orbit if your shutter speed is too slow.
Whilst it is night time on Earth, it is day time on the moon, so you should photograph it as such. This means taking the photo with a much faster shutter speed and higher aperture. As you will be using faster shutter speeds, you can either use a tripod or you can do this hand held if you are comfortable with manual focusing. The higher the zoom on your lens, the easier it will be to focus. I use my 70-300mm lens, zoomed in all the way to 300mm. Then I start with my shutter speed at 1/400s, my aperture at F9 and my ISO at 1600. Then I manually focus the lens until it looks sharp. If you are using a tripod and you have live view mode on your camera, you can zoom in on the screen and adjust the focus ring until it’s sharp. Then you can play around with the settings slightly to get the effect you want.


These are my results. Try to stay within F5.6 and F11 when adjusting the aperture and don’t go below 1/100s on your shutter speed or you will start to get motion blur. I have also edited these by cropping in closer and increasingly the clarity and contrast slightly. These are very easy adjustments which don’t even require Photoshop.
Capturing Starry Skies
Equipment Needed:
Camera with manual mode
Tripod
Ever looked up at a clear sky to the stars and thought about photographing it, only to end up with pitch black, blurry or grainy images? There’s a simple way round this, and all you need is the right settings.
Firstly you need a tripod, or failing that, a very steady surface on which to place your camera so it won’t move. Once you’ve angled your camera to where you want to photograph, you need to put it into focus. There are many ways of doing this on SLR cameras. The easiest way is to put the lens and camera into manual focus, then twist the lens to infinity (you should see this symbol ∞). That is the furthest point of focus for your camera. Alternatively, if your camera has live view mode, you can use the screen to zoom into a star, then adjust the focus ring until the star is at it’s sharpest. You can use any lens for this, but I prefer to use a wider angle, so I usually use my 16-35mm lens.


Next, you need to set your aperture to the widest it will go. This will depend on what lens you are using. The lower the F stop, the more light will enter the lens and therefore the better the image will come out. If you are unfamiliar with aperture, the lower the number, the wider the lens. So for night photography, F4 would be better than F9 for example. Next, adjust your ISO so it is higher, but not by too much as you will start to see grain in your images. I typically use ISO 800 as a starting point then experiment with it until I’m happy.
Lastly, you need to alter the shutter speed. The type of lens you are using will impact how slow you can take your shutter speed before you start to get star trails. On my 16-35mm lens, it’s around 25-30 seconds before I start to see star trails. Start with 15 seconds, then see how the image comes out and adjust it until you get the desired effect. If you’re getting star trails but your photos are still too dark, that’s when you need to make your ISO higher.


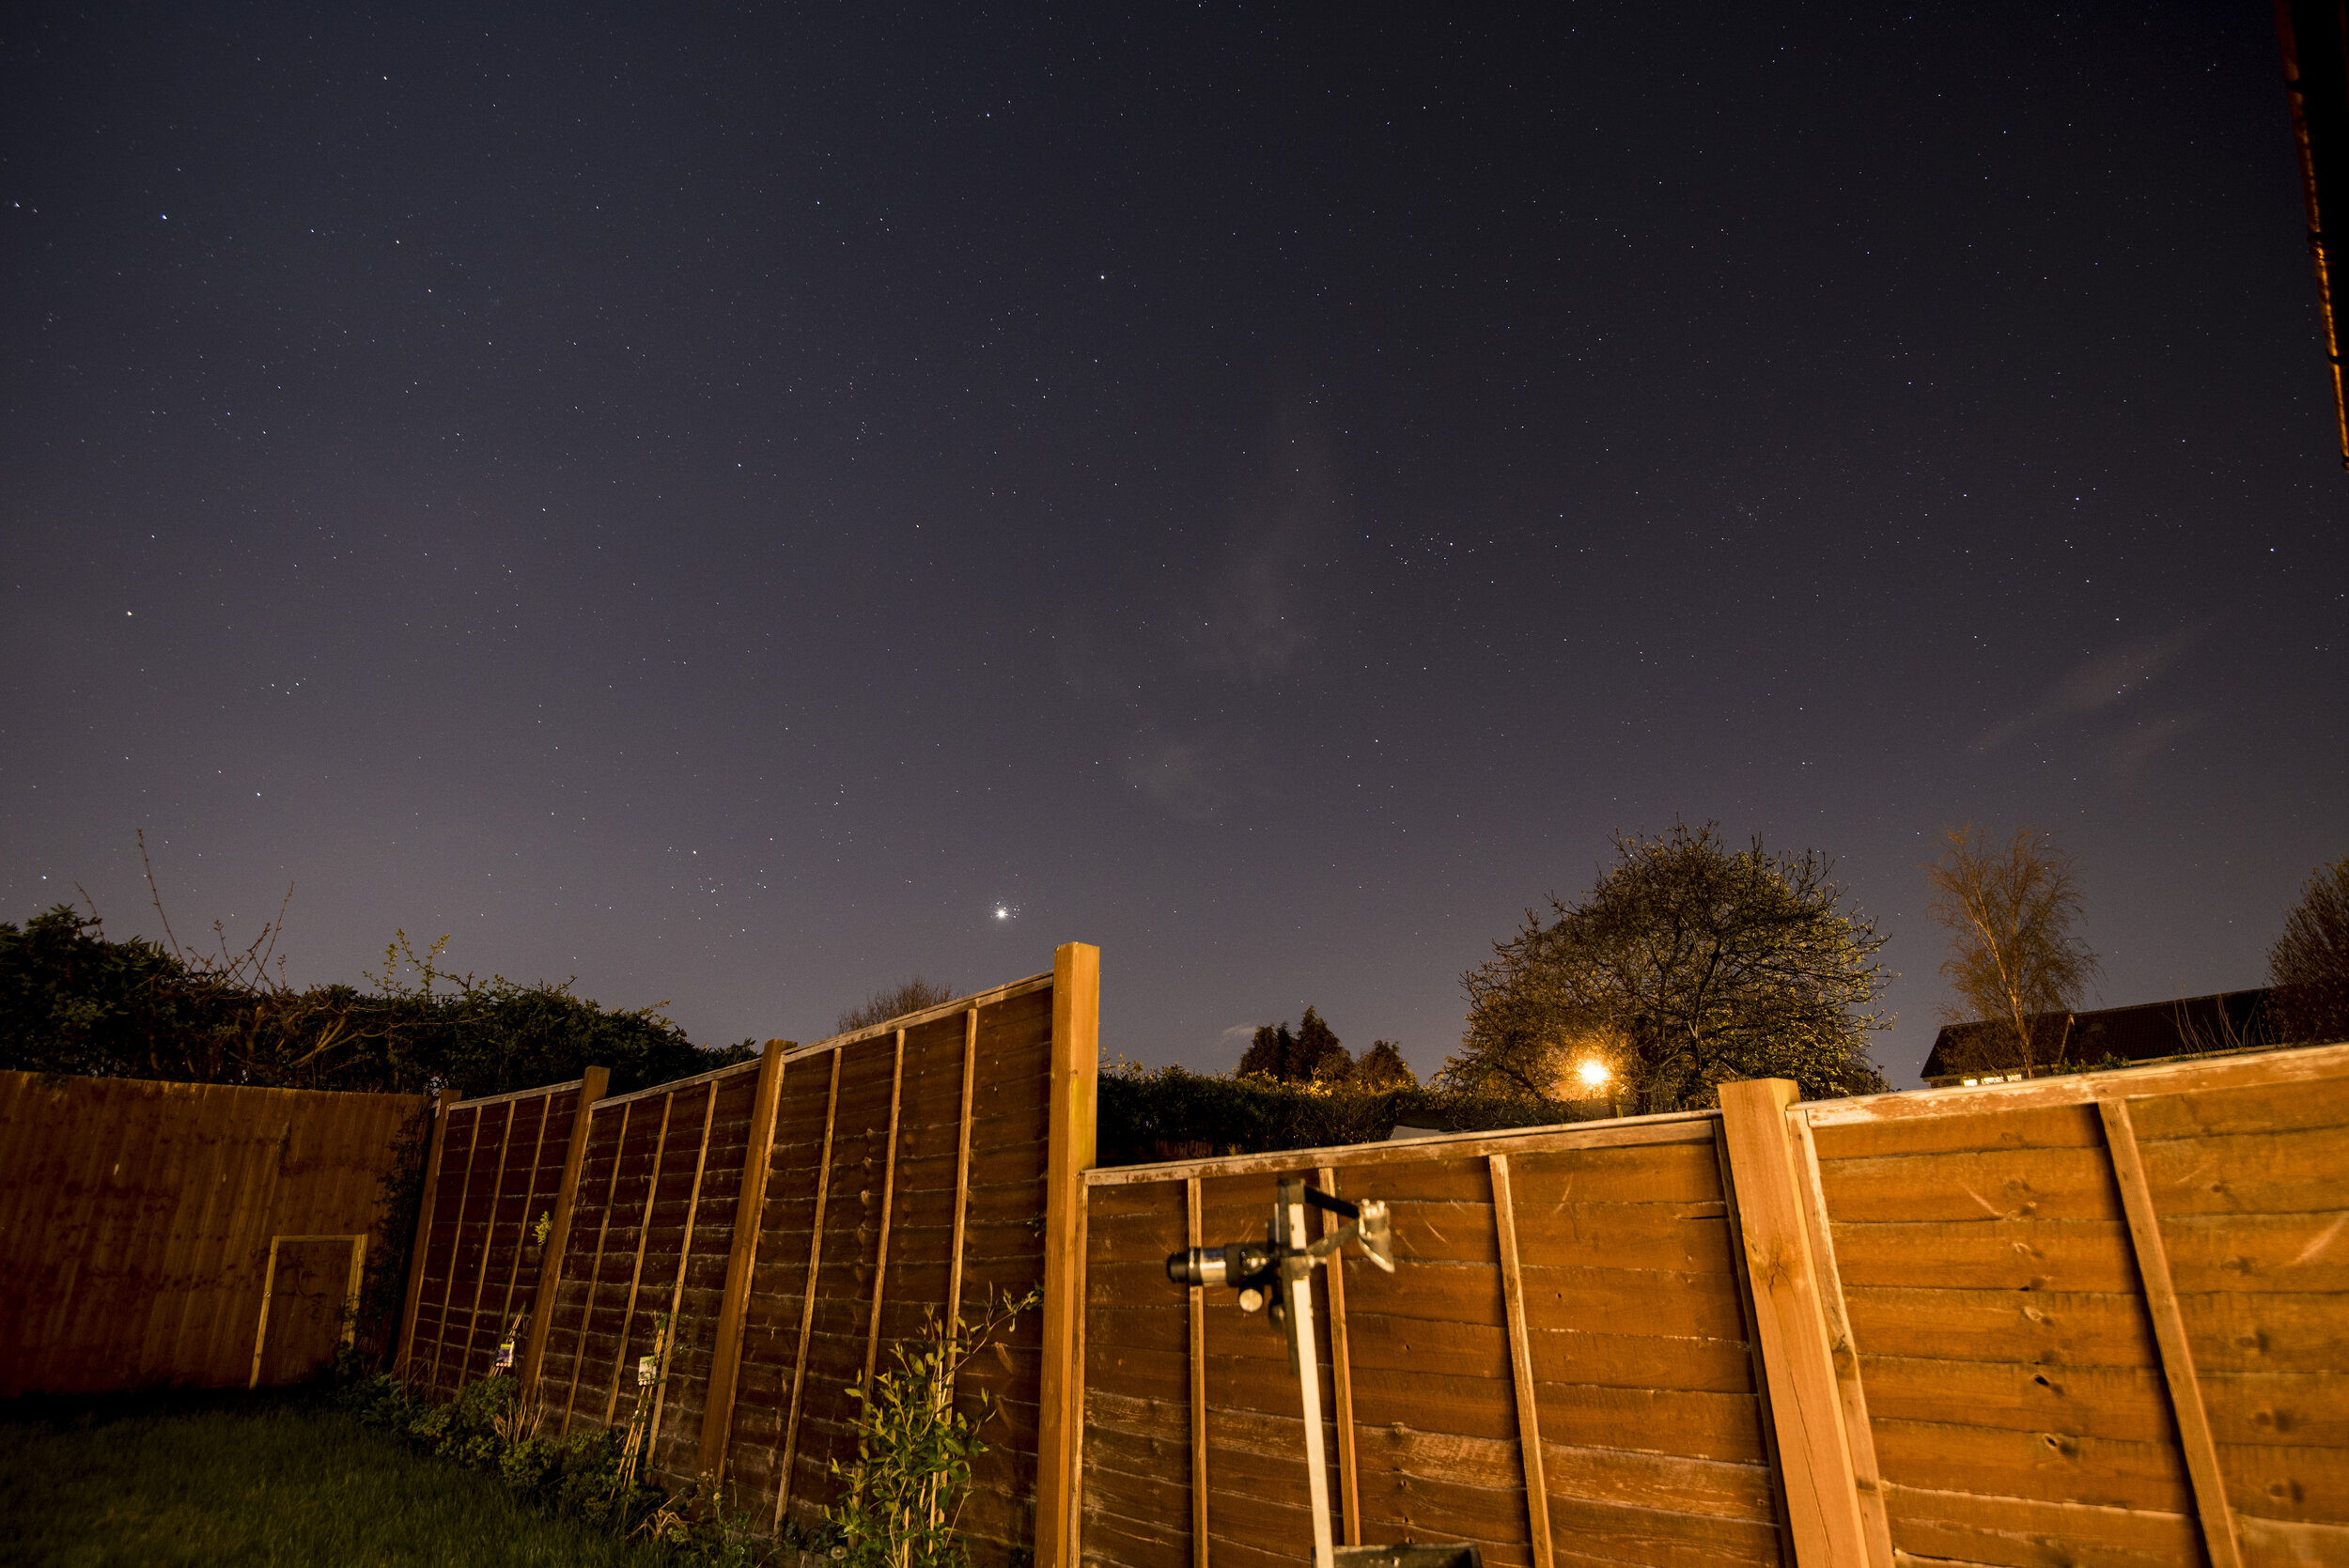
These are my results. Bare in mind where you are taking your photos. I took these in my back garden, and I live on the outskirts of town, so I couldn’t use very long shutter speeds due to the light pollution. If your aim is to get photographs of the milky way, you will need a very slow shutter speed, so you will need to travel somewhere where there is very little to no light pollution.
Get Creative With Self Portrait Night Photography
Equipment Needed:
Camera with manual mode
Tripod
Photoshop (or similar editing software)
Once you’re comfortable with your night time photography, you can start getting creative. You can start by using objects or buildings in the foreground of your photos to create a point of interest. A fun way of doing this is by taking a starry night self portrait. In order to achieve the best results, you will need Photoshop, or any other editing software that can layer two images together into a composite.
First you can try getting it all in one shot, but this will greatly depend on how long your shutter speed is, and how still you can be! Use the same set up for the starry night photography and take a few test shots until you are happy with how your sky is looking. If the shutter speed isn’t too slow, you can put your camera on timer, then get in the photo and try to stay as still as possible. If this isn’t creating the look your going for, then you will need to create a composite.


First take your photo of the sky as you want it. Then, keeping the camera and tripod in the same position, make your shutter speed a lot faster (whilst keeping all the other settings the same), put it on timer, and stand on your mark. As your shutter speed is a lot faster you may need to introduce a light source so you don’t appear pitch black. You can do this many ways. If you are in your garden you can turn the lights on in your house, or if you are elsewhere you can use anything, from a torch to your car headlights. Once you are happy with your images, load them into Photoshop and cut out the foreground of one shot and copy and paste it into the other. As the camera didn’t move, you will easily be able to layer the foreground of one photo into the other without making too many adjustments.
If you are unsure how to do this, there are many tutorials on Youtube, or watch out for my upcoming posts on my blog where I will be posting different Photoshop techniques and tutorials. Make sure to tag me in your attempts on Instagram @abyjoannephotography so I can enjoy your amazing photos! Happy shooting!