Photo Shooting Menu- Every Setting On Your DSLR Explained (Part Three)


Understanding all your camera’s capabilities is a huge advantage when trying to create great photos. DSLRs have a huge variety of settings and features, most of which people either don’t understand, or just simply ignore. This is a comprehensive guide to every single one of your cameras settings, where they are, and what they do. I will go through what every button does, and what all the menu settings do, and I will be using a Nikon D600 for this tutorial. Every camera is different, so therefore your camera may differ slightly, but the majority of the settings are universal across most camera brands, you just may find that some buttons or settings may be in different places. There’s a huge amount of information, therefore I will be splitting this post into multiple parts. Here in part three, we shall go through the in-camera ‘Photo Shooting’ menu.
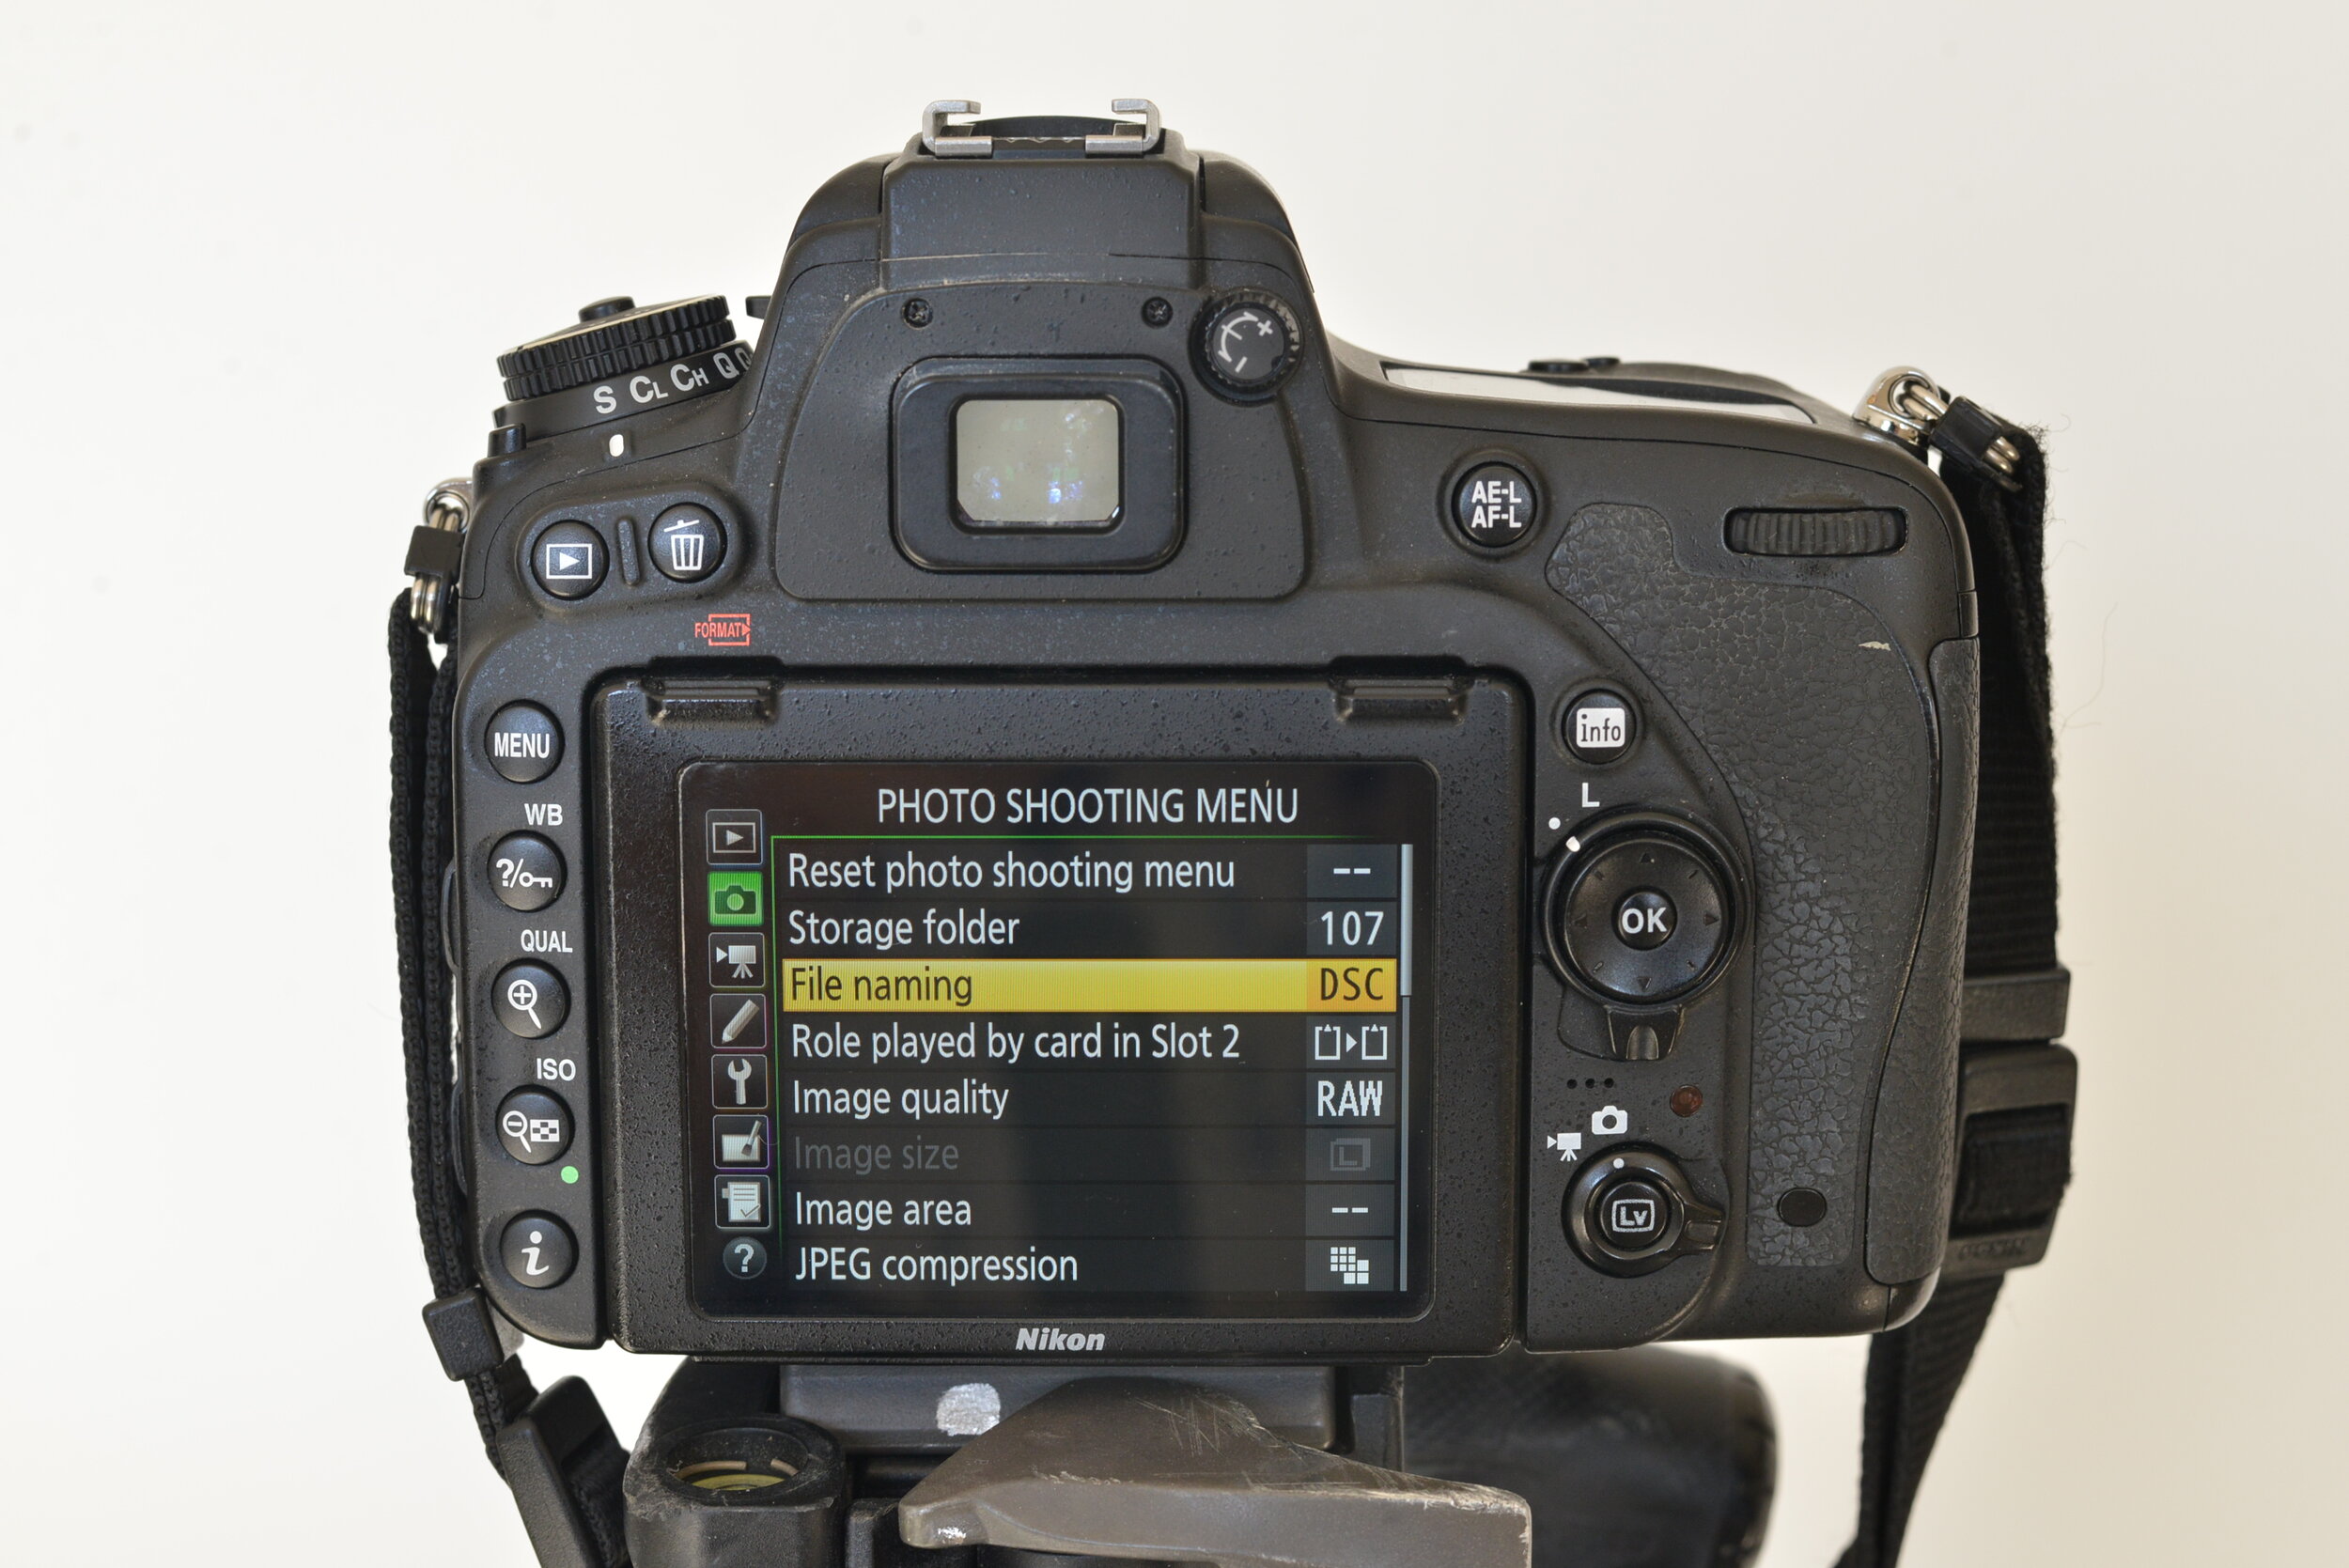
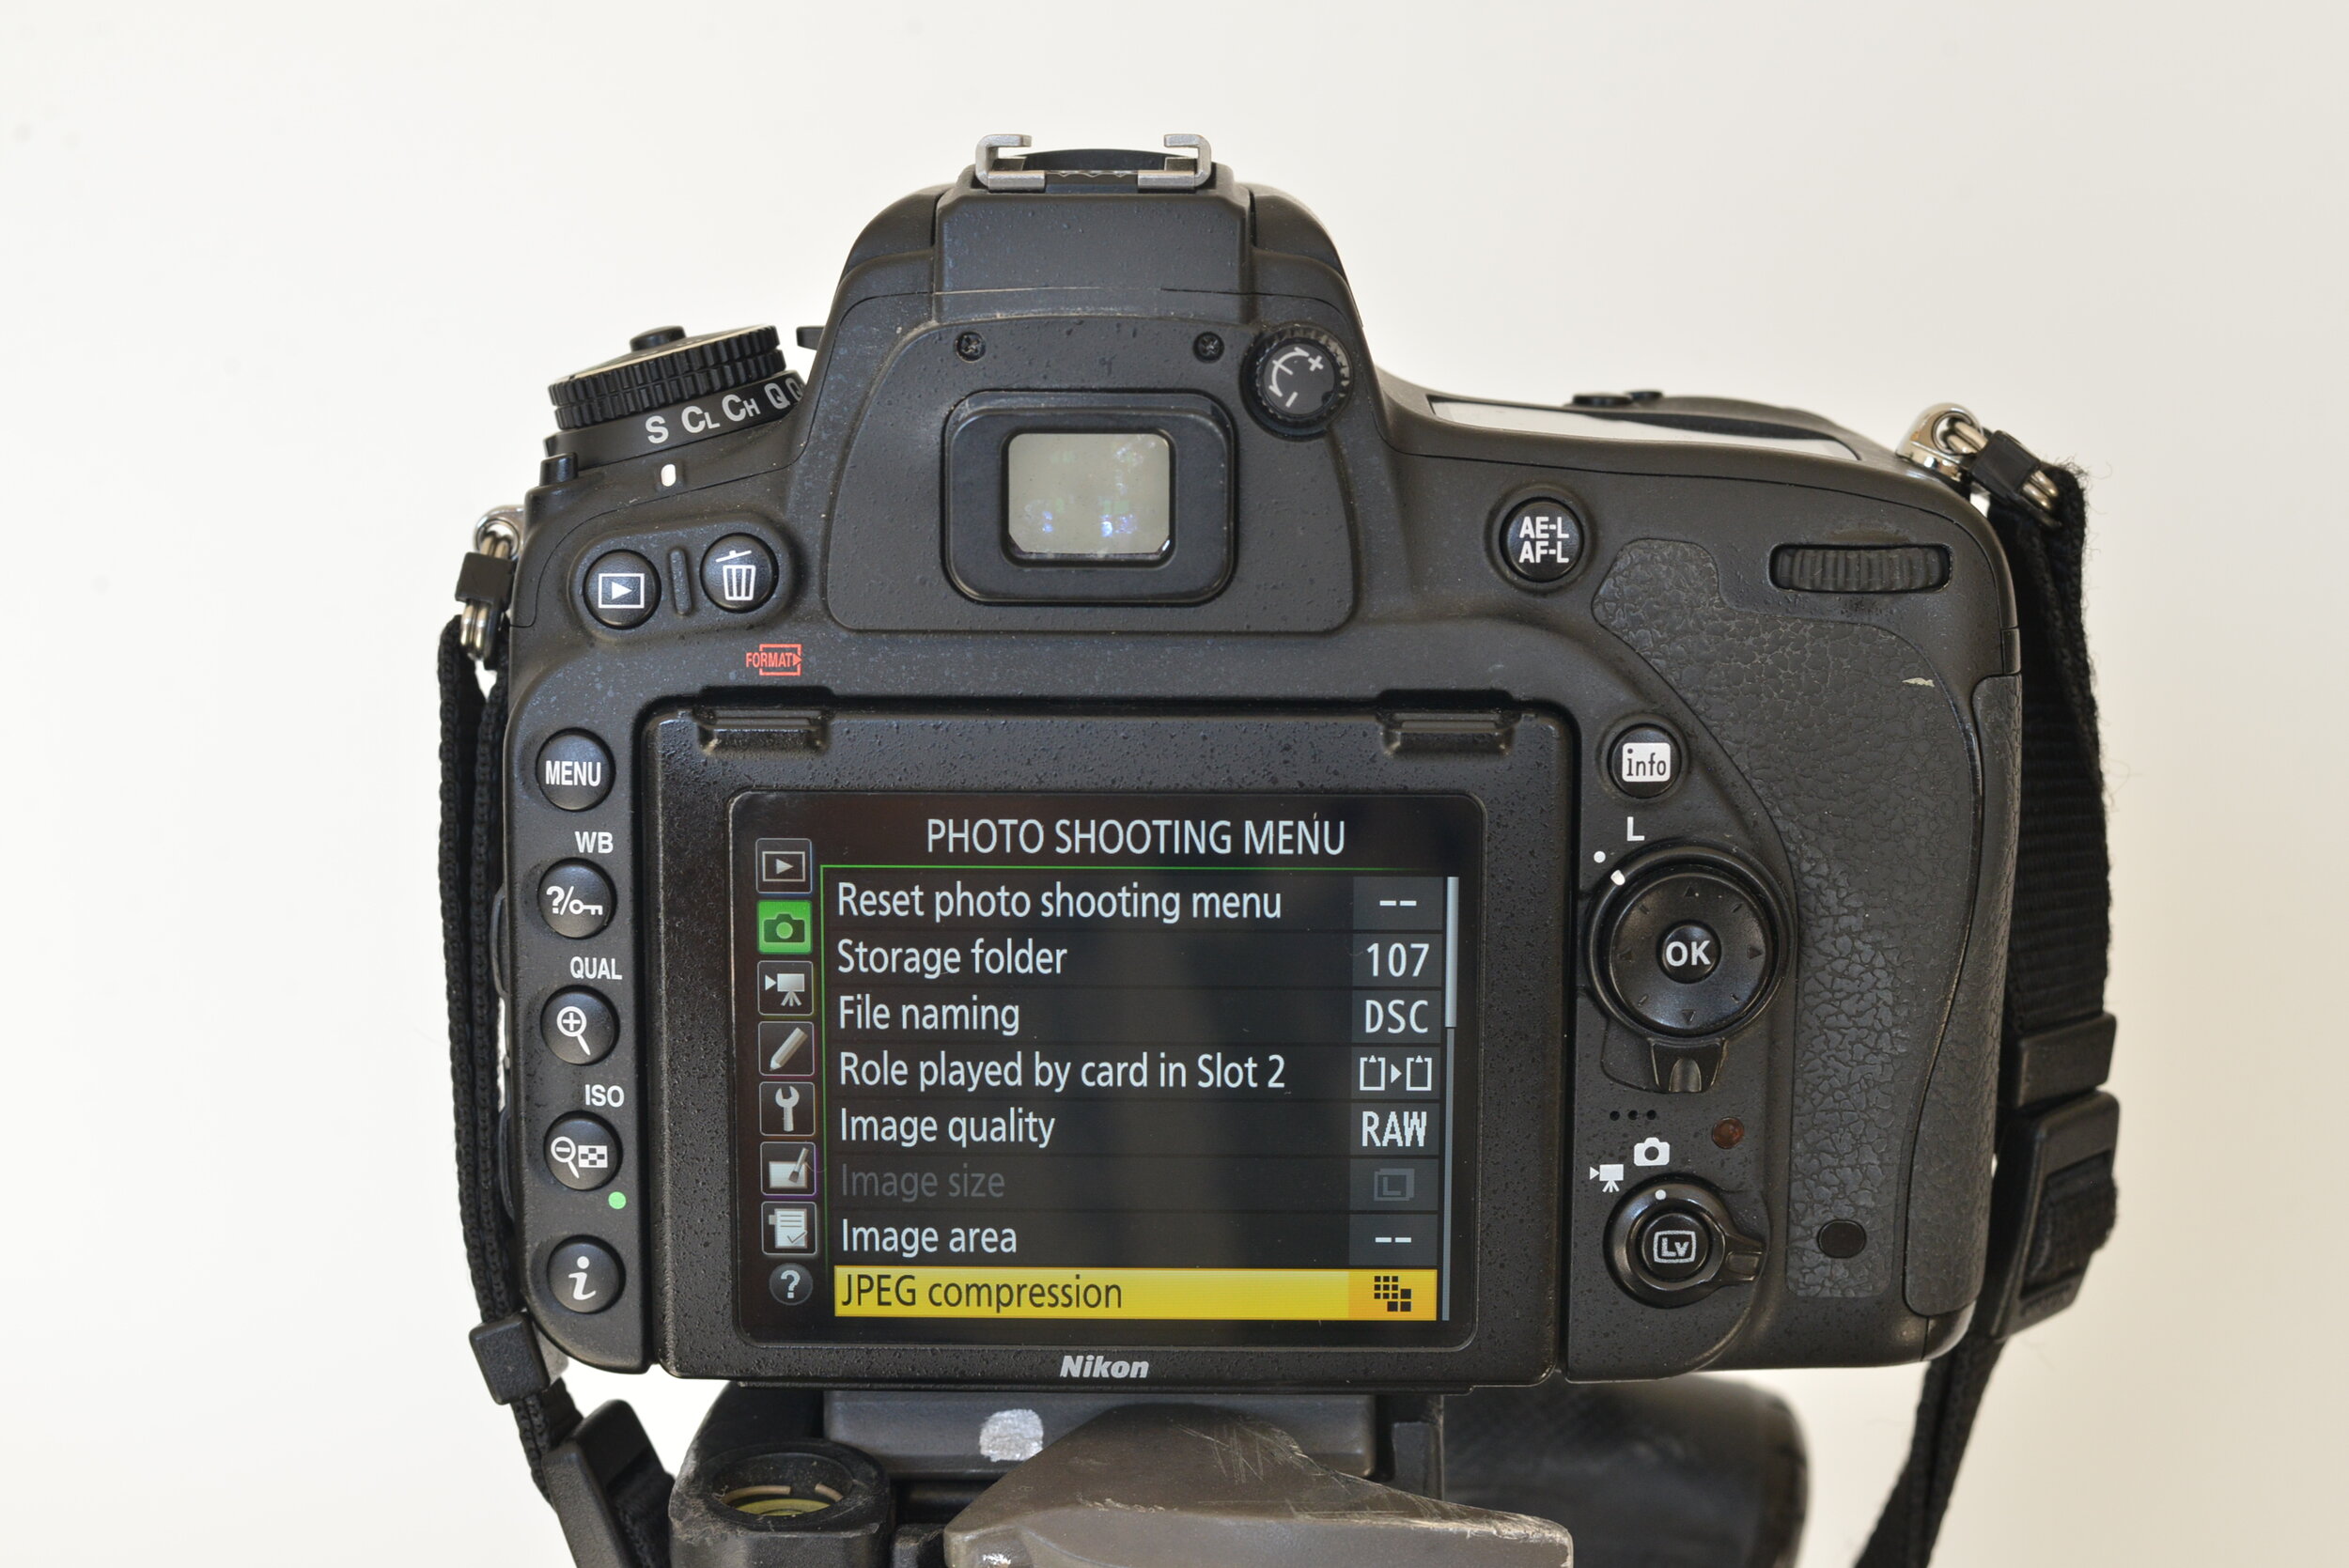
Photo Shooting Menu
The Photo Shooting menu allows you to alter how your images are taken and stored. You can change many different shooting options such as the size of your images, where they are stored, how they are named and more, as well as exploring different shooting modes such as multiple and long exposures.
Reset Photo Shooting Menu
This allows you to reset this entire menu to it’s default settings if you no longer wish to use any current custom settings.


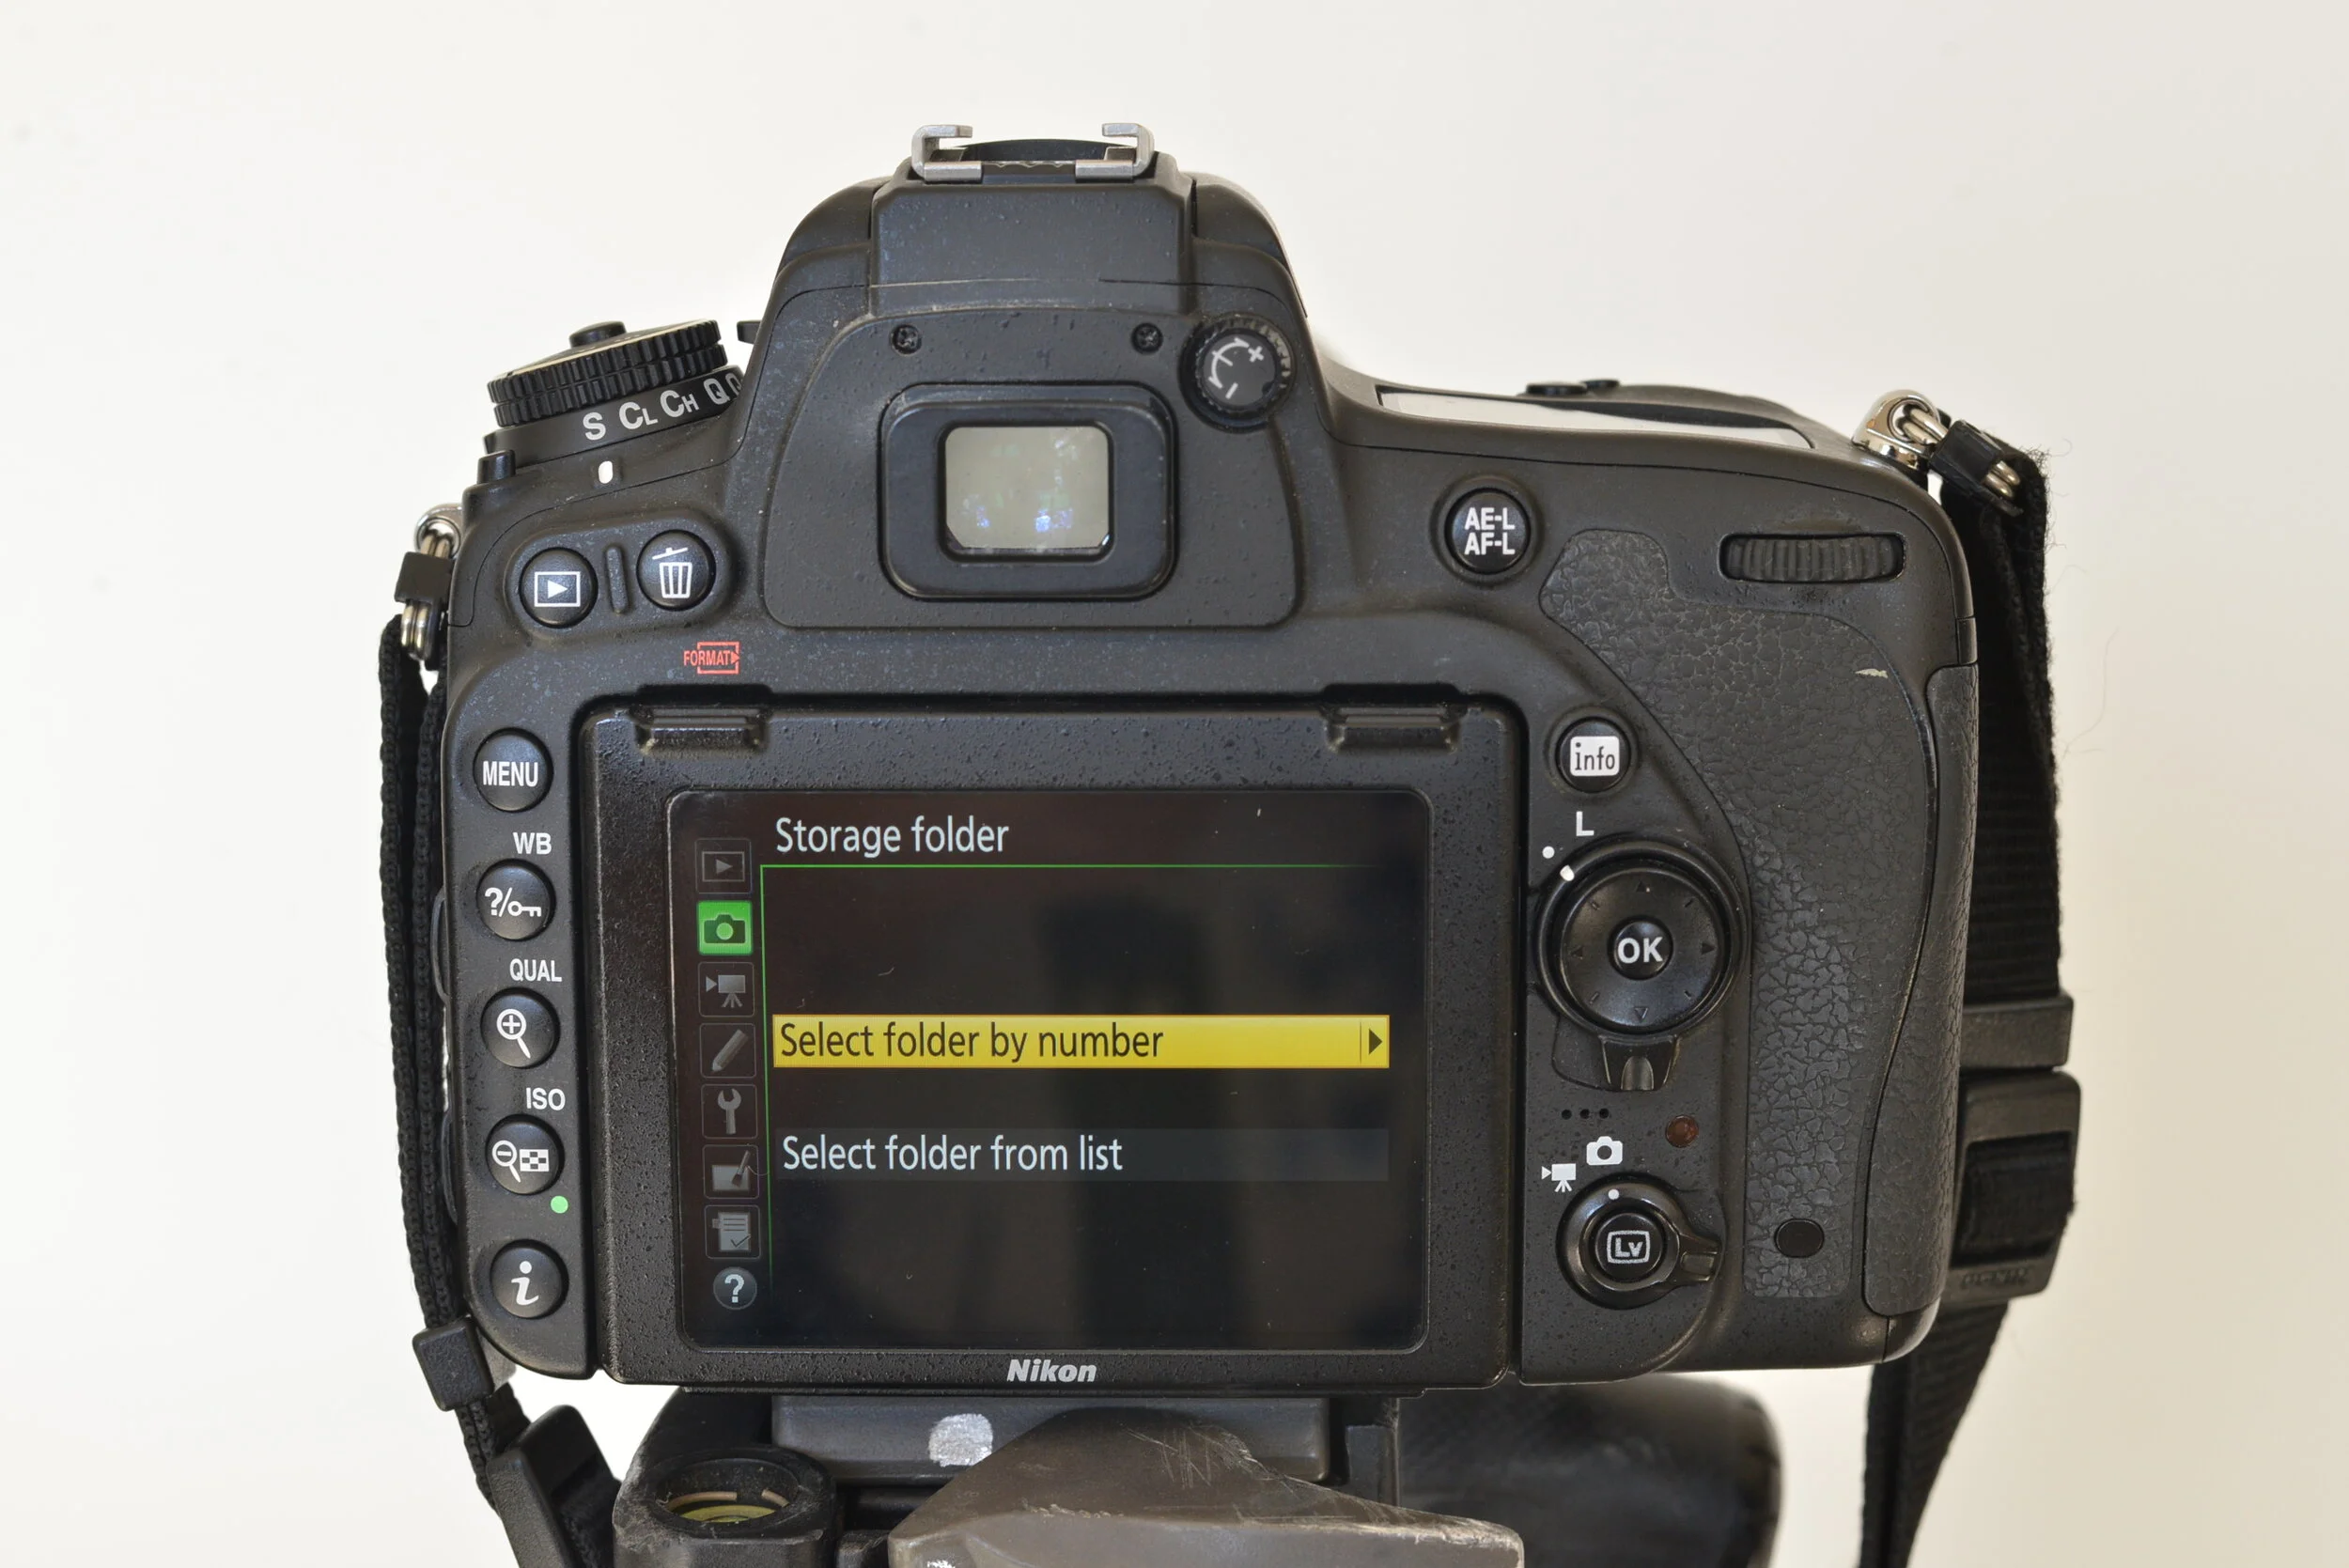
Storage Folder
In this menu you can rename different folders on your SD card and select which folders any new images will be stored to.

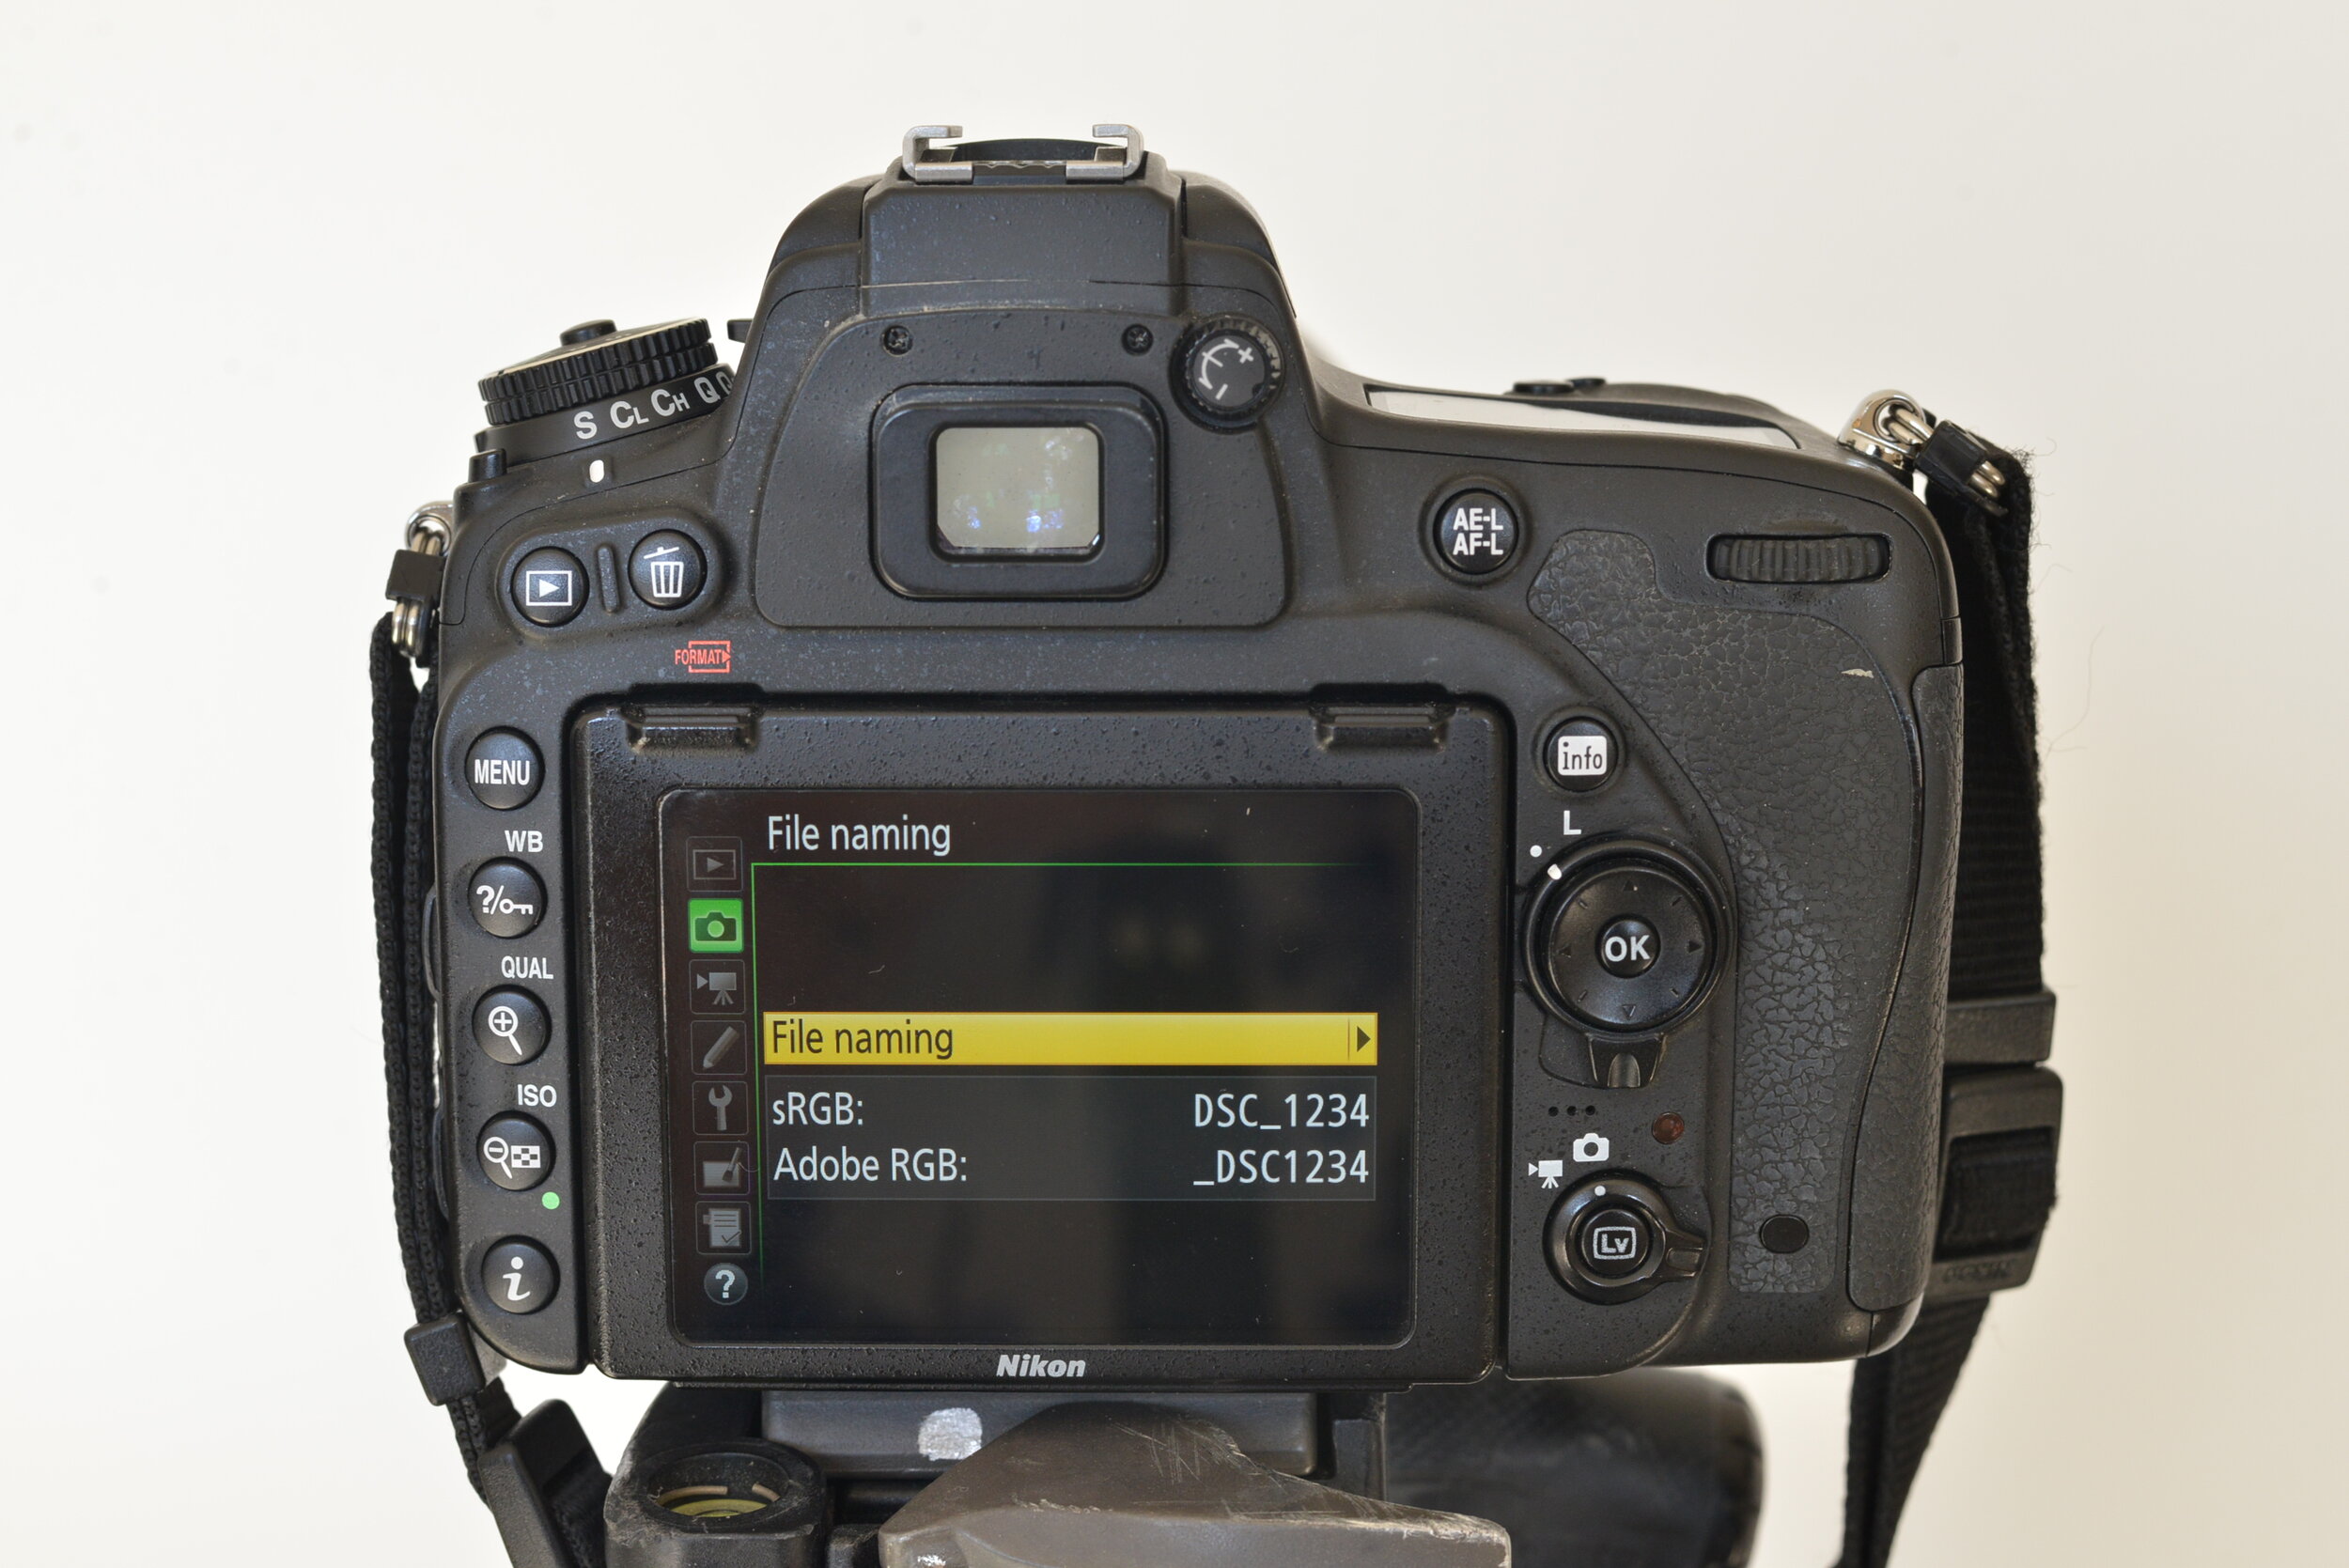
File Naming
As standard, most photos are automatically named with the ‘DSC’ prefix followed by a four digit number (indicating how many photos have been taken) for example your 23rd photo on your card will be named DSC_0023.jpg. This number will reset and begin again with ‘0001’ every time you format your card. If you want to use a different prefix to ‘DSC’ you can change that using this menu.
Role Played By Card In Slot 2
If your camera has dual card slots then you will most likely have this option in your menu too. This is where you select the function of your second SD card. You can use it as overflow if you are taking a large amount of images, so once your first card’s memory is full the camera will start saving new images to the second card. You can also set it as a backup, so every photo you take is saved twice, once to your first card and once to your second card. This means if one of your cards becomes corrupt or fails, you have all your images on a backup card. You can also alter this back up option, so when shooting in RAW, you can save your RAW image to the first card, and a JPEG copy to the second card. This is a good way of creating backups whilst retaining more storage space.


Image Quality
This is where you decide what format and compression you want to take and save your photos in. You can simply shoot in JPEG or RAW, or alternatively you can set your camera up to create a JPEG copy of each of your RAW images. You can also decide on the quality of your images, for example, JPEG Fine is a bigger, better quality file than a JPEG Basic, but takes up more storage space.


Image Size
Your JPEG size’s are measured in pixels, so the larger the aspect ratio you set it to, the larger and better quality the image is. In the menu it tells you next to each option how large the file size will be in megapixels. If you are planning on printing any of your images or doing any major post-processing to them, then selecting ‘Large’ is an absolute must.


Image Area
This camera is a full frame camera (the digital comparison for a 35mm film camera) therefore using this menu you can choose whether to shoot at full frame or with a cropped sensor instead. Using a DX lens on a full frame camera or using this Auto DX Crop option will cause any images you take to be slightly more ‘zoomed in’ than usual without having to change your lens. You can read more about crop sensors and how they work on my blog post about camera terminology here.


JPEG Compression
When your camera takes a JPEG it will compress it to maximise storage capacity. You can set it to protect the image size and therefore reduce any compression (useful if you plan on printing your images). You can also set it to ‘optimal quality’ which reduces any compression even further. If you have chosen to shoot JPEG (instead of RAW) and plan to heavily edit or print your photos then the best options to set on your camera would be ‘JPEG fine’ in the Image Quality menu, ‘Large’ in the Image Size Menu and ‘Optimal Quality’ in this menu.

NEF (RAW) Recording
This menu effects the compression of your RAW files and their bit-depth (both effecting the overall size and quality of your images). There are two types of compression options, ‘ON- Lossless Compressed’ and ‘ON- Compressed’. The ‘Lossless Compressed’ option is a reversible way of compressing your image size on the SD card, which reduces the file size without effecting the image quality. The ‘Compressed’ option reduces the file size even further but there is a slight risk of reducing the image quality and it is irreversible. For the bit-depth you can choose between 12-bit and 14-bit. 14-bit produces a larger file but has more colour data recorded (again a good option if printing your images).


White Balance
This is a more in-depth way of altering your white balance instead of using the button short-cut (if your camera has one). Here you can adjust your white balance to match the light source of your surroundings. If none of the preset white balances are working for you, you can also set it to manual and adjust the degrees kelvin to your desired colour temperature.


Set Picture Control
In this menu you can decide how your images are processed. You can keep it the default option ‘standard’ or if you are after a particular effect you can choose from many different options below, most of which effect how the colours of your image are processed. ‘Standard’ is a general setting recommended for most situations. ‘Neutral’ means the camera will do very minimal processing to the image, which is typically the best option if you plan on doing any editing later. ‘Vivid’ is the best option if you intend to print your images as it processes the image to enhance the primary colours. ‘Monochrome’ means all your photos will be processed in black and white. ‘Portrait’ is a good mode to use if taking photos of people as it processes the image to be more flattering to skin tone and texture. ‘Landscape’ is similar to vivid, as it enhances particular colours creating more vivid landscapes. Choosing ‘Flat’ is another good option if you are planning on heavily editing any of your images as it saves more detail over a wider colour range.


Manage Picture Control
In this menu you can create your own Picture Control setting if none of the presets are achieving the effect you are after. You can edit any of the preset picture controls and save them as new options. You can also apply any of your custom settings to all the images on a certain card by selecting Load/Save.


Colour Space
Choosing a colour space will determine how many colour tones are portrayed in your images. For general use (such as use on websites, social media, etc.) and normal printing sRGB is recommended, but if you are printing professionally or commercially (for a publication for example) then Adobe RGB is recommended as it has a wider range of colour tones. You will need to use a printer that supports the Adobe RGB colour space though!


Active D-Lighting
This is a good option to use if you want to preserve more details in the highlights and shadows whilst retaining a natural contrast look (in other words, without creating a completely HDR image). You can set it to Low, Normal, High or Extra High depending on how strong or subtle you want the effect to be.
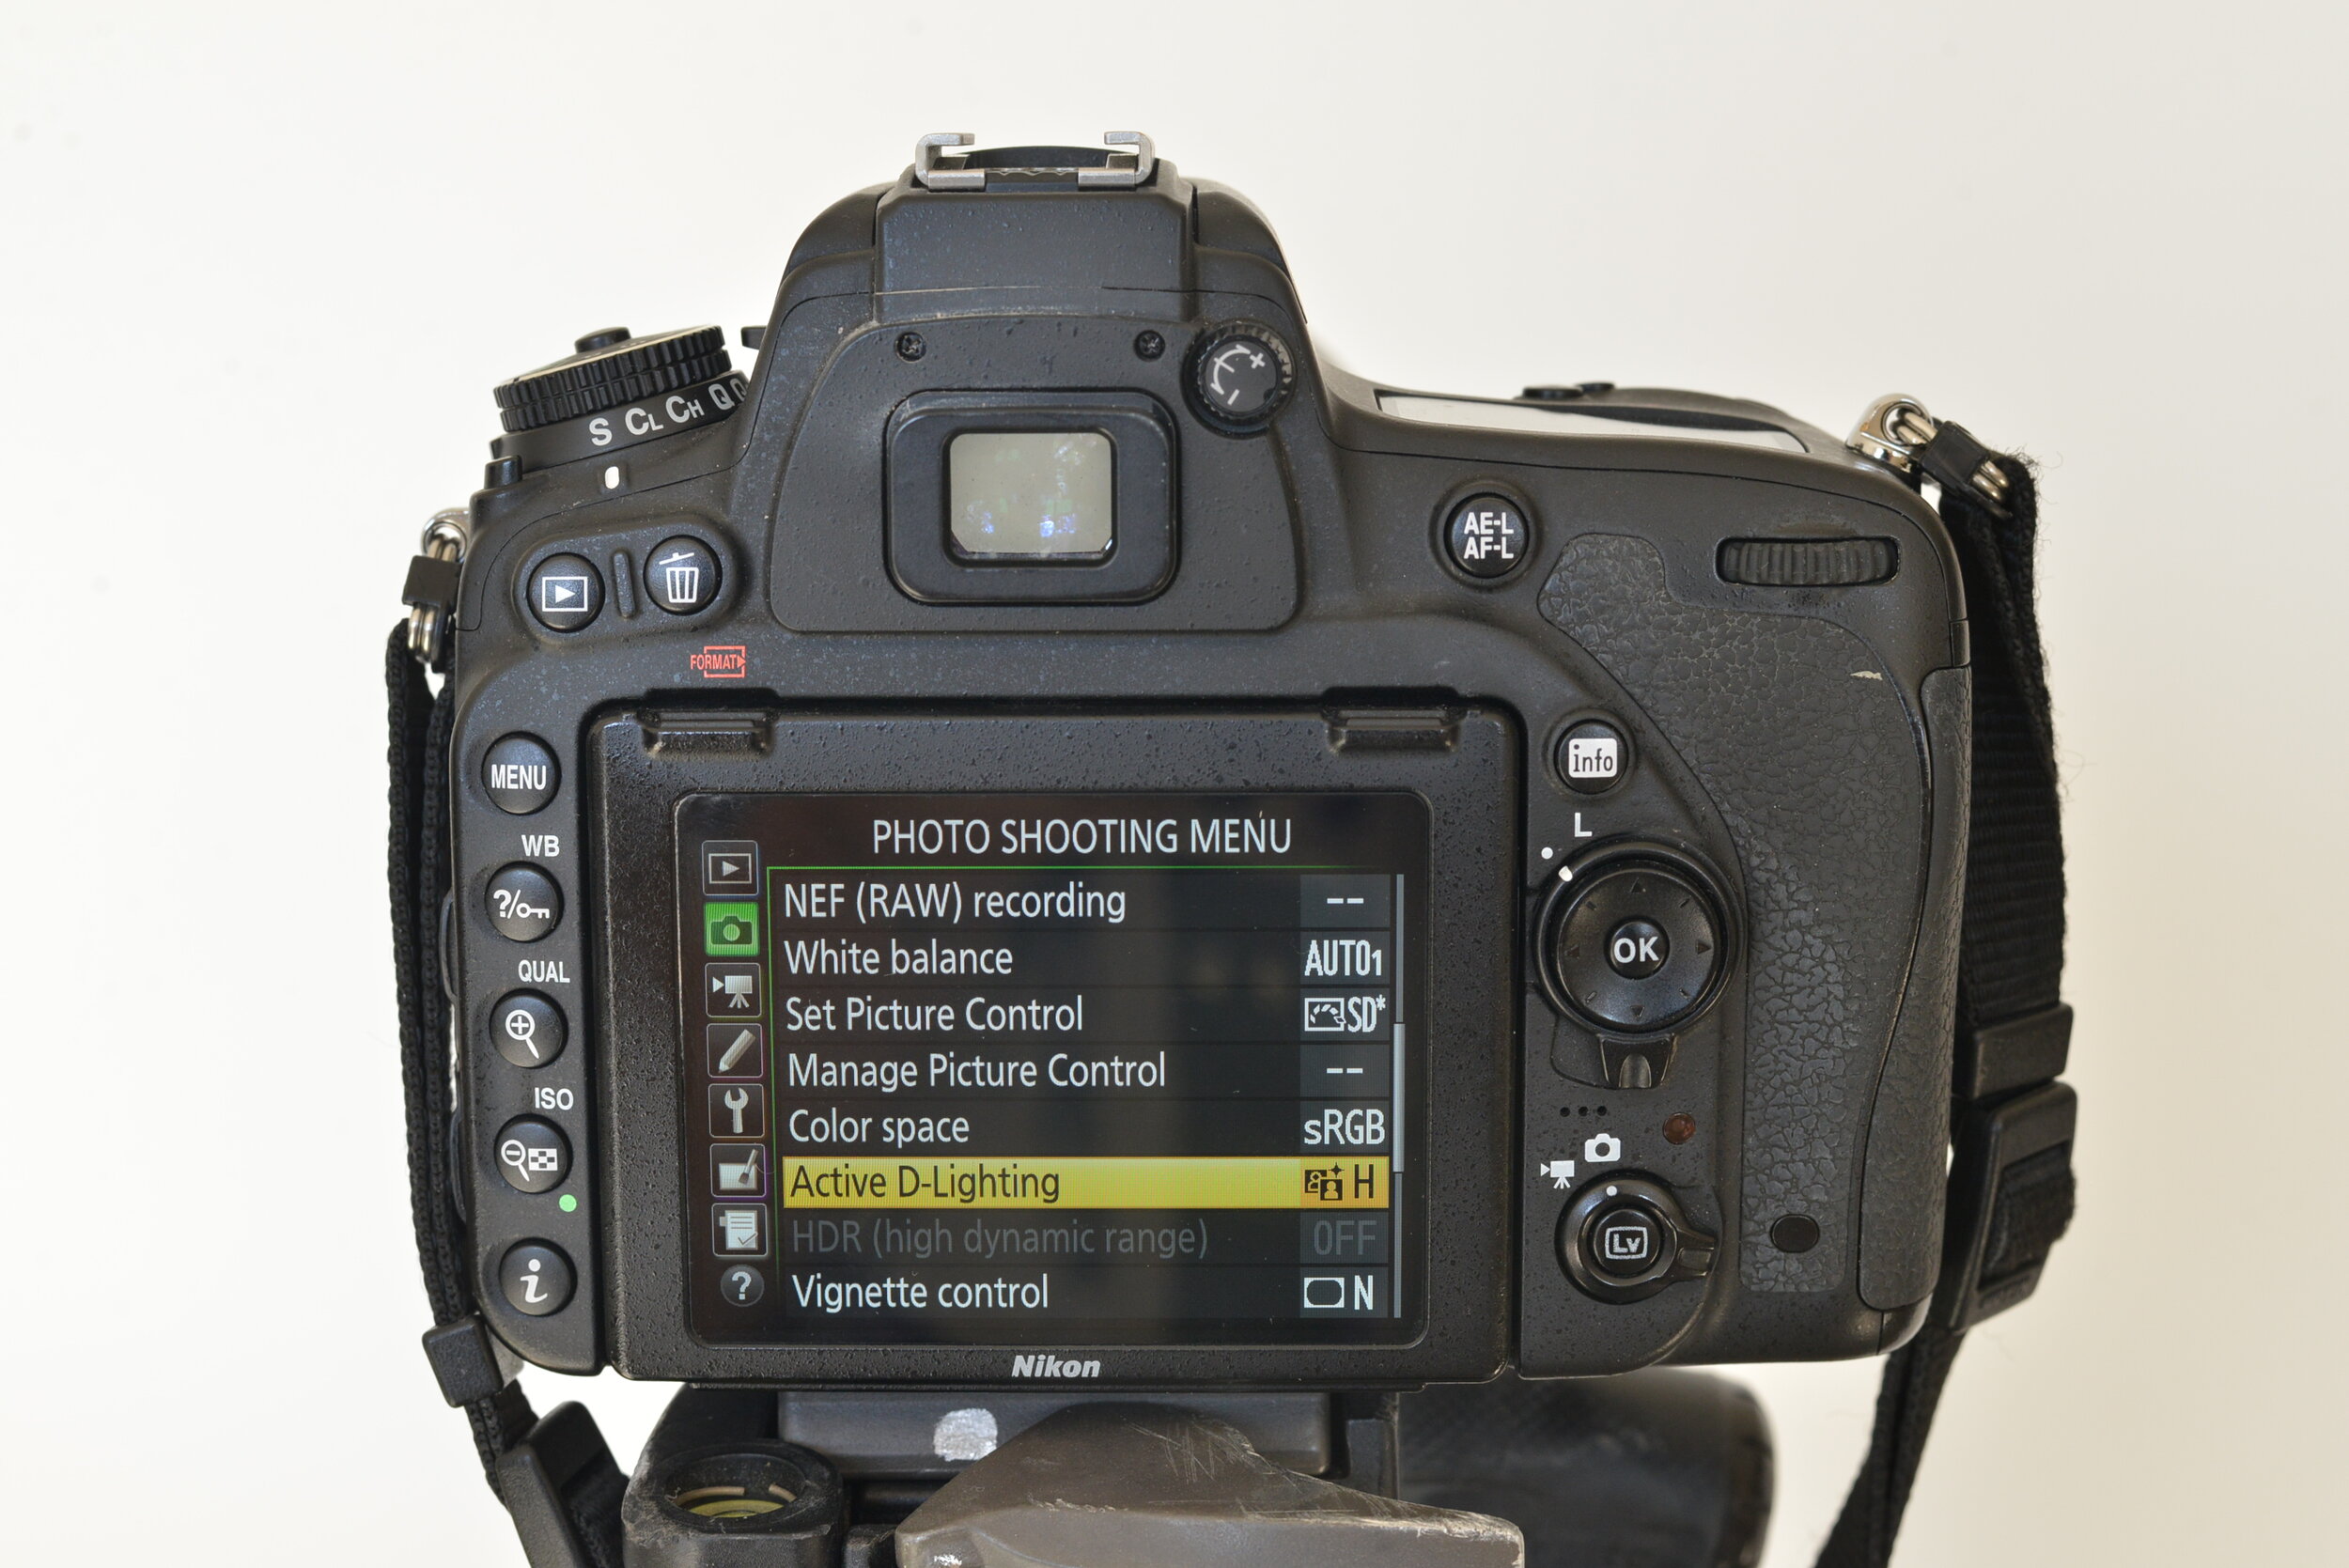

HDR (High Dynamic Range)
When taking an image in very strong contrast (such as a dark subject against a very bright background or strong sunlight) then you can use HDR. This retains more detail in shadows and highlights, just like D-Lighting but with a much stronger effect. Whilst using D-Lighting simply applies an effect to a single image, using HDR causes the camera to take two images at different exposures and combines them together to create a more balanced overall exposure. You can turn it on for a single photo or for continuous shooting too. You can also adjust the strength of the HDR depending on how strong or subtle you want the effect to be.


Vignette Control
Vignetting is a type of lens distortion where the edges of the image reduce in brightness, creating a dark halo effect or border. Different lenses will cause varying strengths of vignetting but you can reduce this effect by using this menu. It’s important to note though that vignette control will not be applied to movie clips or multiple exposures.


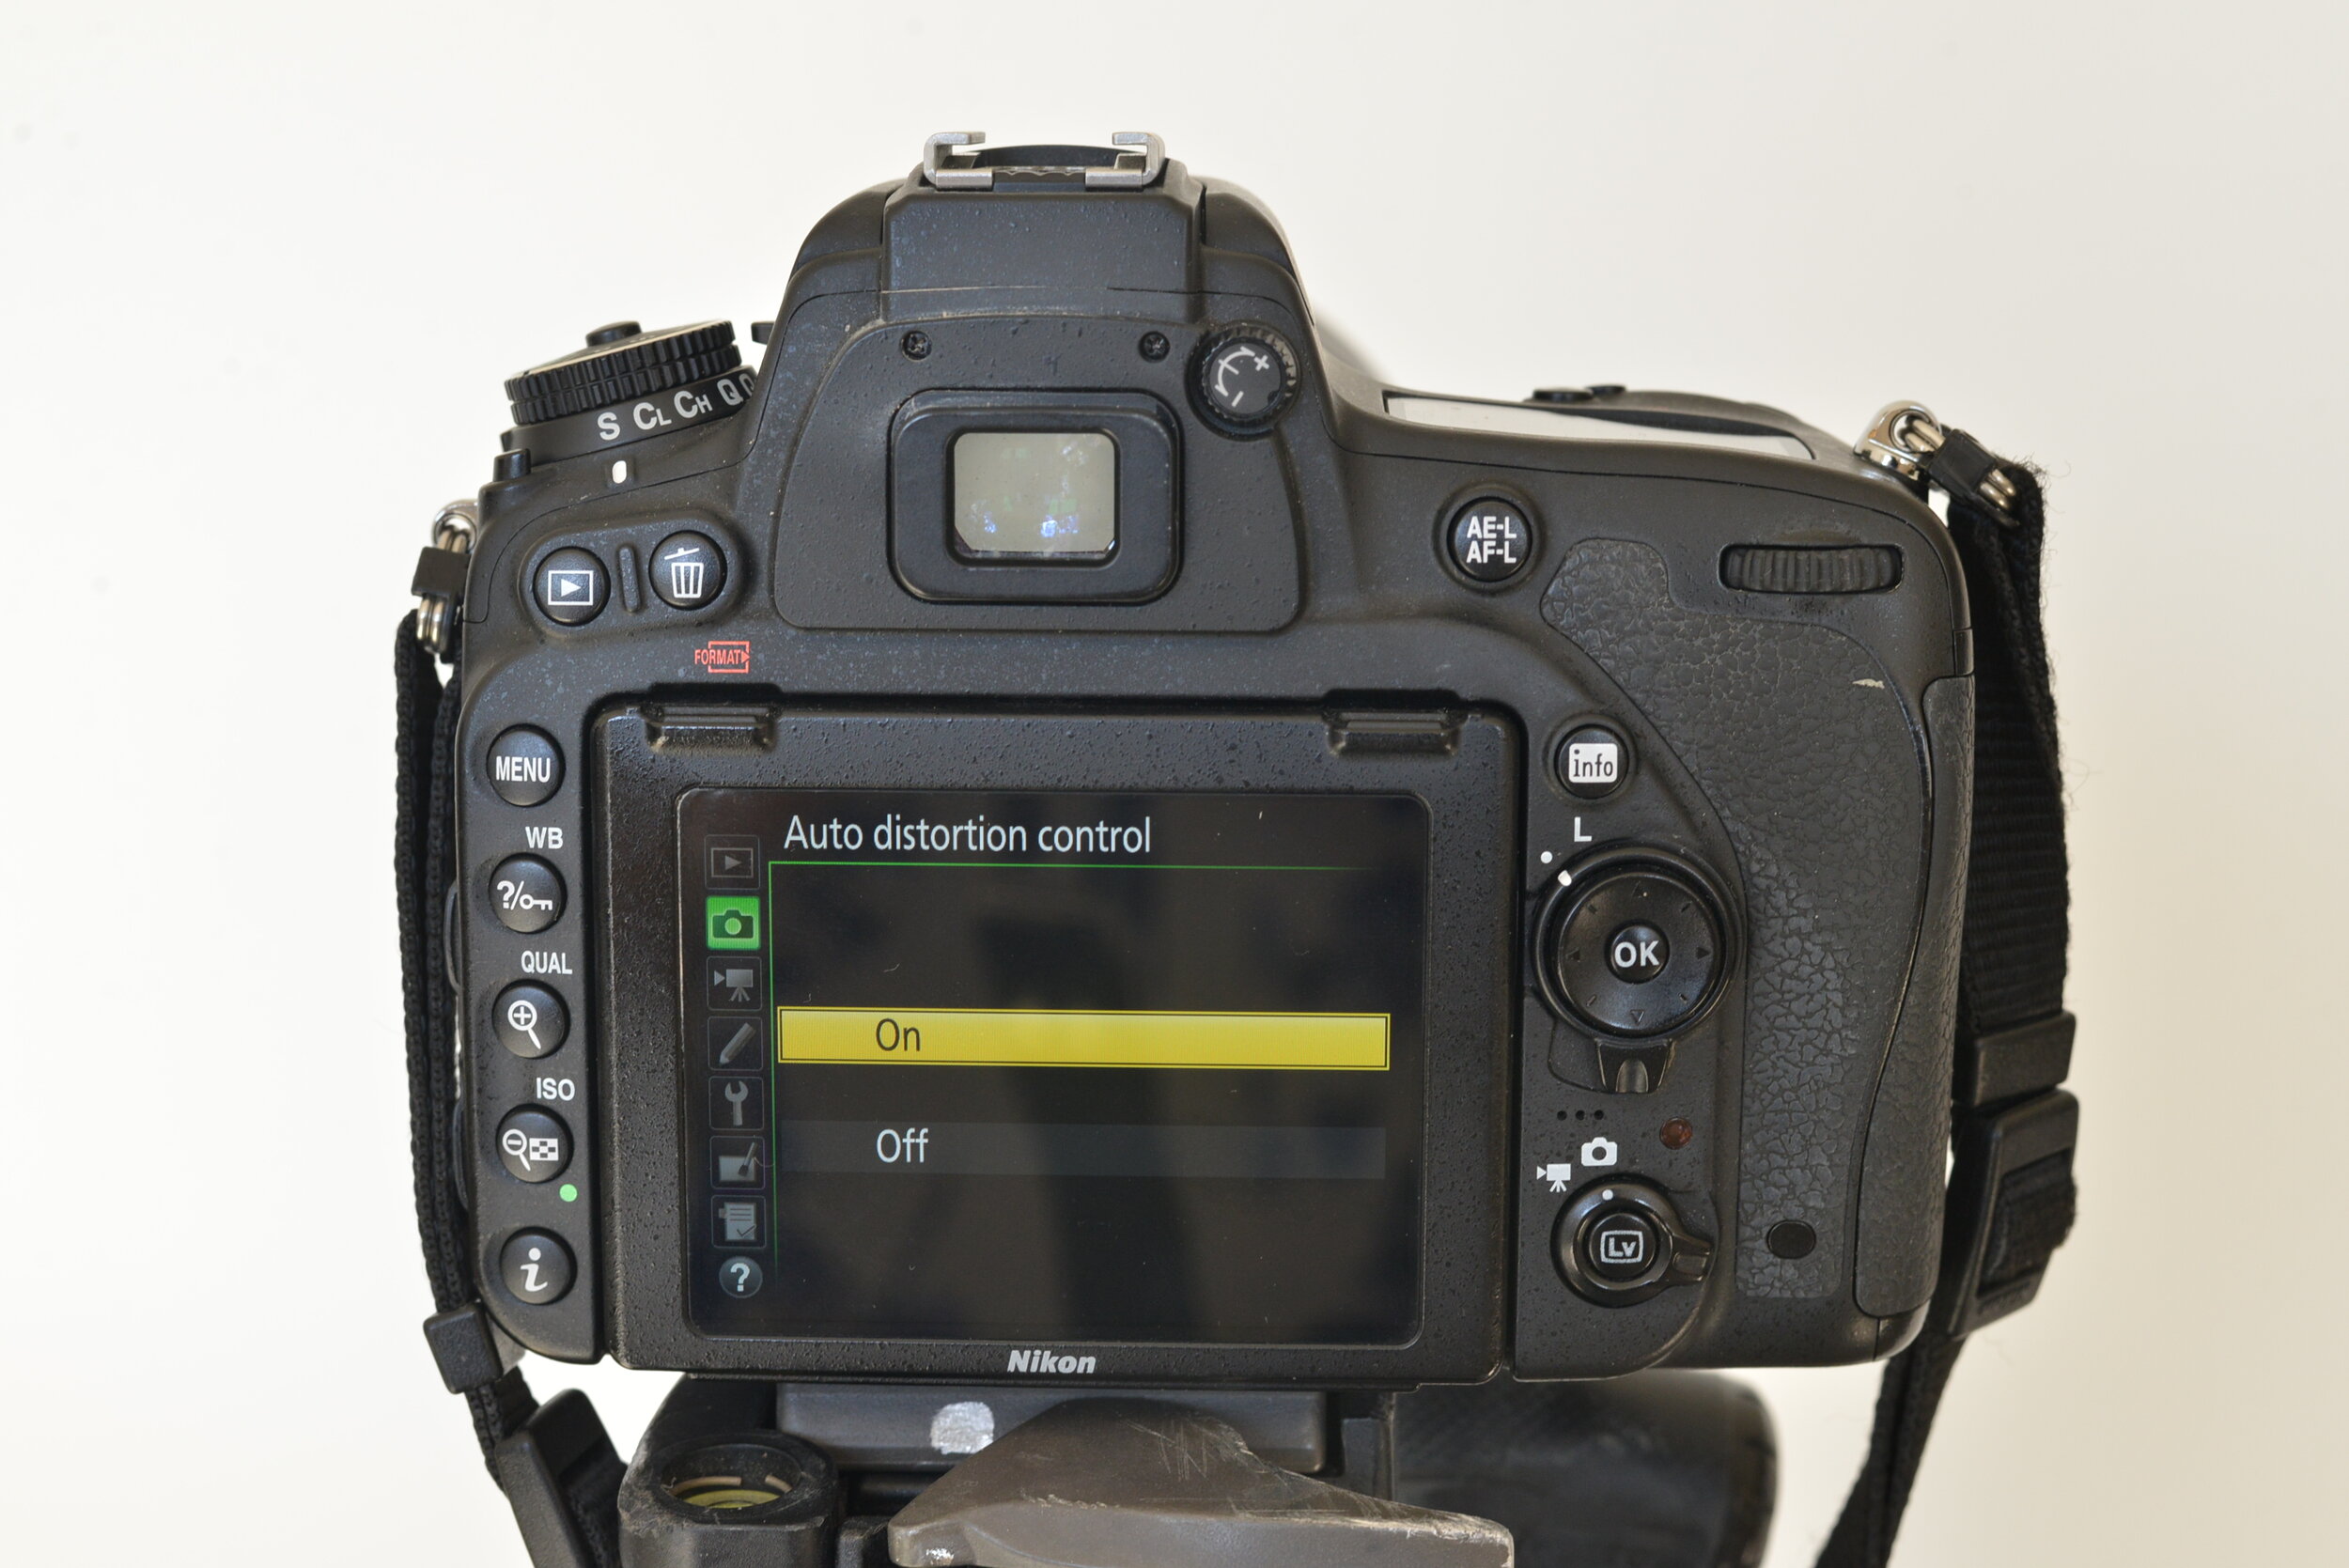
Auto Distortion Control
Some lenses create certain types of distortion in their images, such as a ‘bulging’ effect to the corners of your images when using a wide angle lens. You can reduce this distortion by selecting ‘on’ in this menu, though it is important to remember that by selecting ‘on’, some edges of your images may end up being cropped out as a result of the distortion control.

Long Exposure NR
NR stands for Noise Reduction. When taking very long exposures, you may see an increased amount of noise (grain) in your images. By selecting ‘on’ in this menu, any photo taken with a shutter speed of 1 second or slower will be processed in-camera to reduce any effects caused by excess noise. Using this menu will mean it takes longer for the photo to be saved to the memory card.


High ISO NR
Just like with long exposures above, taking a photo with a high ISO can create noise effects in your image, which can be decreased by using this menu.


ISO Sensitivity Settings
If you don’t have a shortcut button to adjust the ISO then you can do so in this menu. The higher the ISO, the brighter your image will be, though it’s important to remember that the higher the ISO, the more noise will appear in your photo too. In this menu you can also set the ISO to auto if you want the camera to decide for you. If you want to use the ISO shortcut button but are unsure how to, you can read my blog post about camera buttons and switches here.


Remote Control Mode (ML-L3)
This menu allows you to control how your camera interacts with a remote shutter release (when you use a cable with a switch to take a photo instead of pressing the shutter button on the camera). You can adjust any delay between pressing the remote and the photo being taken and you can also set it to keep the mirror locked up for the duration at which the remote is pressed for longer exposures.


Multiple Exposure
If you want to create a multiple exposure in-camera you can do so using this menu. This is when multiple images are layered together at different opacities into one photo, often for an abstract effect. You can create a multiple exposure from between 2 to 10 images and you can select how the photos are overlaid together. Choosing ‘add’ means the photos will be combined without any modification. Choosing ‘average’ means the photos are merged together at the average opacity of the amount of photos taken. For example, if you take a multiple exposure using two images, each image will be combined together at a 50% opacity. If you take three photos, they will be combined at an opacity of 33% each, an so on. Choosing ‘auto gain’ means the camera will combine the pixels of the image that are brightest.


Interval Timer Shooting
This allows you to make the camera take photos at pre-determined intervals until the requested amount of shots have been taken. For example, you can set the camera up to take an image every 2 seconds until it reaches 20 images, and so forth. You can also decide whether the camera starts taking the photos immediately after pressing the shutter, or whether it starts taking photos at a specific time. This is particularly useful when taking photos of the sky at night if you want the camera to keep taking images at specific times without you having to go back and forth to press the shutter for each set of photos.


Hopefully this was helpful for you and allowed you to understand your camera a bit better. If you want to learn more about in-camera menus, make sure to keep your eye out for Part Four of ‘Every Setting On Your DSLR Explained’, where I will go through the movie shooting menu and what each option does. You can also read more about the photo shooting menu here in the online Nikon manual.
All images in this post are copyright (c) of Aby-Joanne Photography.