
Photo Projects At Home- Product Photography Hacks


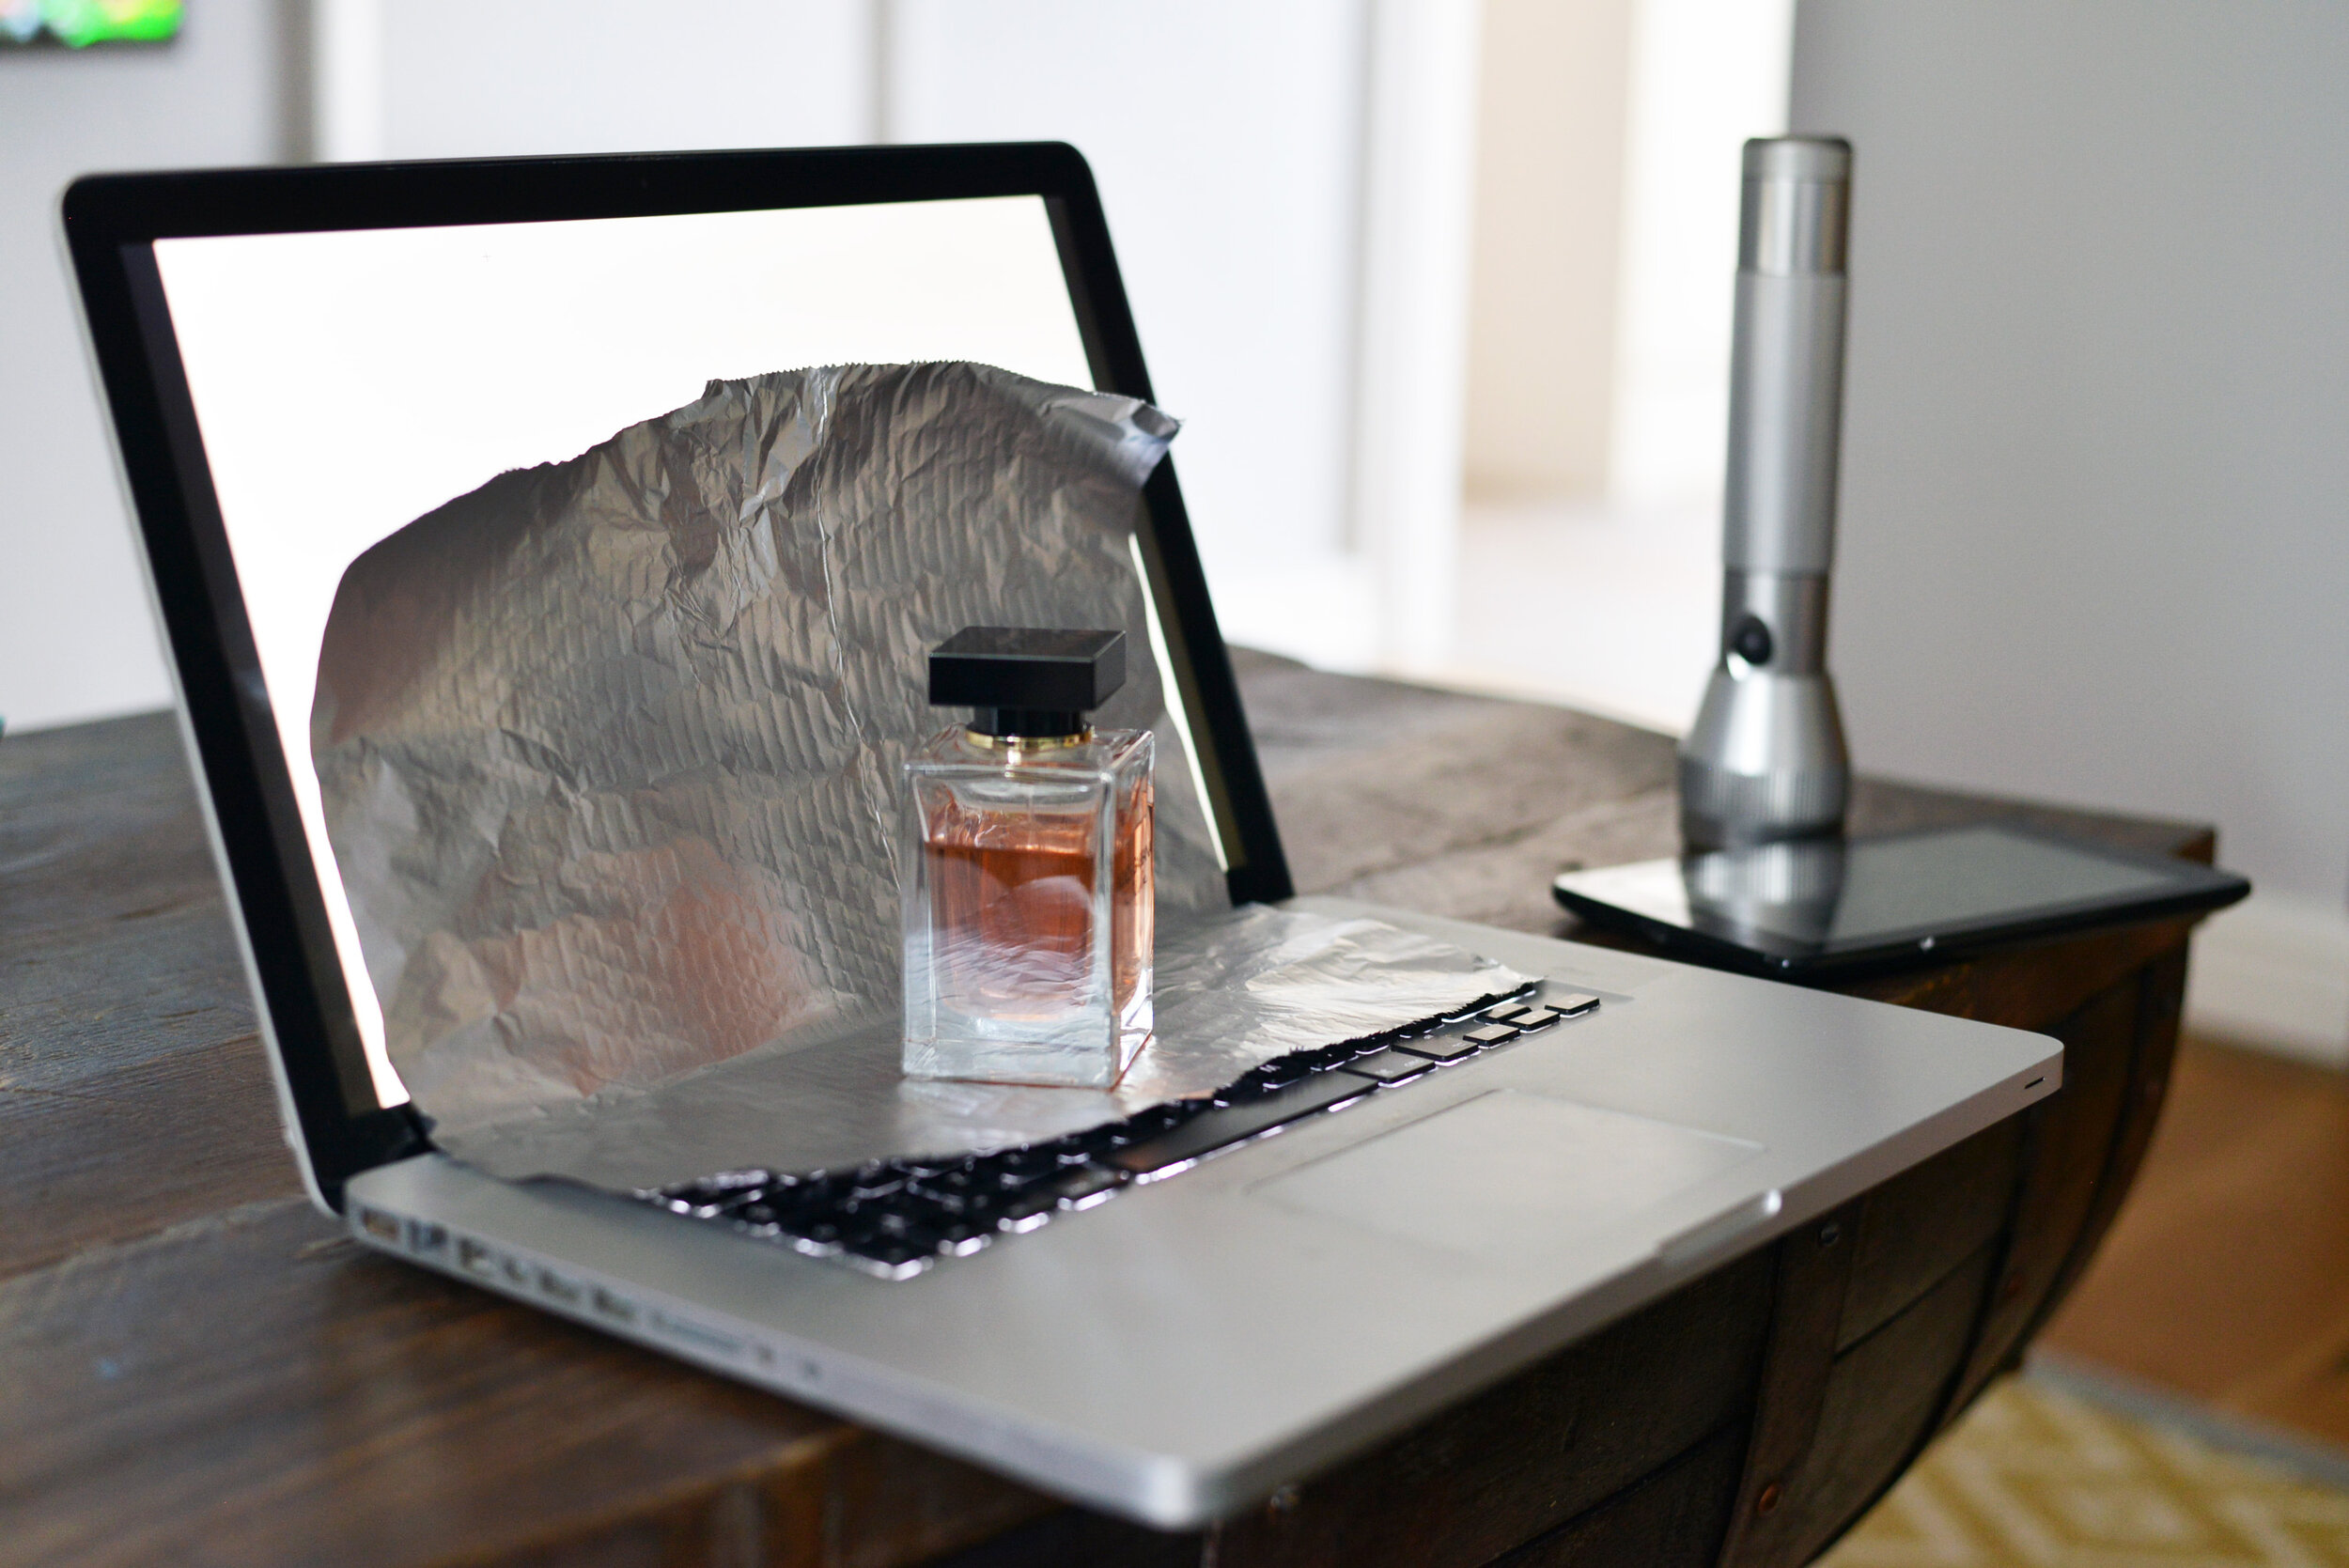
Welcome to the first in my ‘Photo Projects At Home’ series where we will delve into product photography. As we are all stuck at home I thought I would share some ideas on how to create amazing photos at home with very little equipment needed! I’ve been having a play around with product photography, using only things found around the house and I’ve been loving the results. Below are all the tools I have used to create all the photos you will see in this blog post.

A laptop (or coloured card/wallpaper as a substitute)
A product you want to photograph
A phone, tablet or other flat shiny surface
A mirror
Tin foil
Flashlight
Sewing kit
Flower Petals
And of course a camera!
For these photos I will be using my Nikon D600 DSLR but the beauty of these hacks is that they work so well, you could use a phone camera and still get great results, so anyone can try these at home regardless of what equipment you have. I chose to photograph a translucent object to get the best effect, but you can use whatever you like. I picked a perfume bottle as my product.
Firstly find some backgrounds you want to use. For mine I typed in ‘wallpapers’ into Google Images and saved a few I liked. If you don’t have a laptop you can just as easily use coloured card or paper too. These are the backgrounds I used below. You also need something to place the product on. You can use more paper or to create the best effect, use a reflective surface such as a phone or tablet.


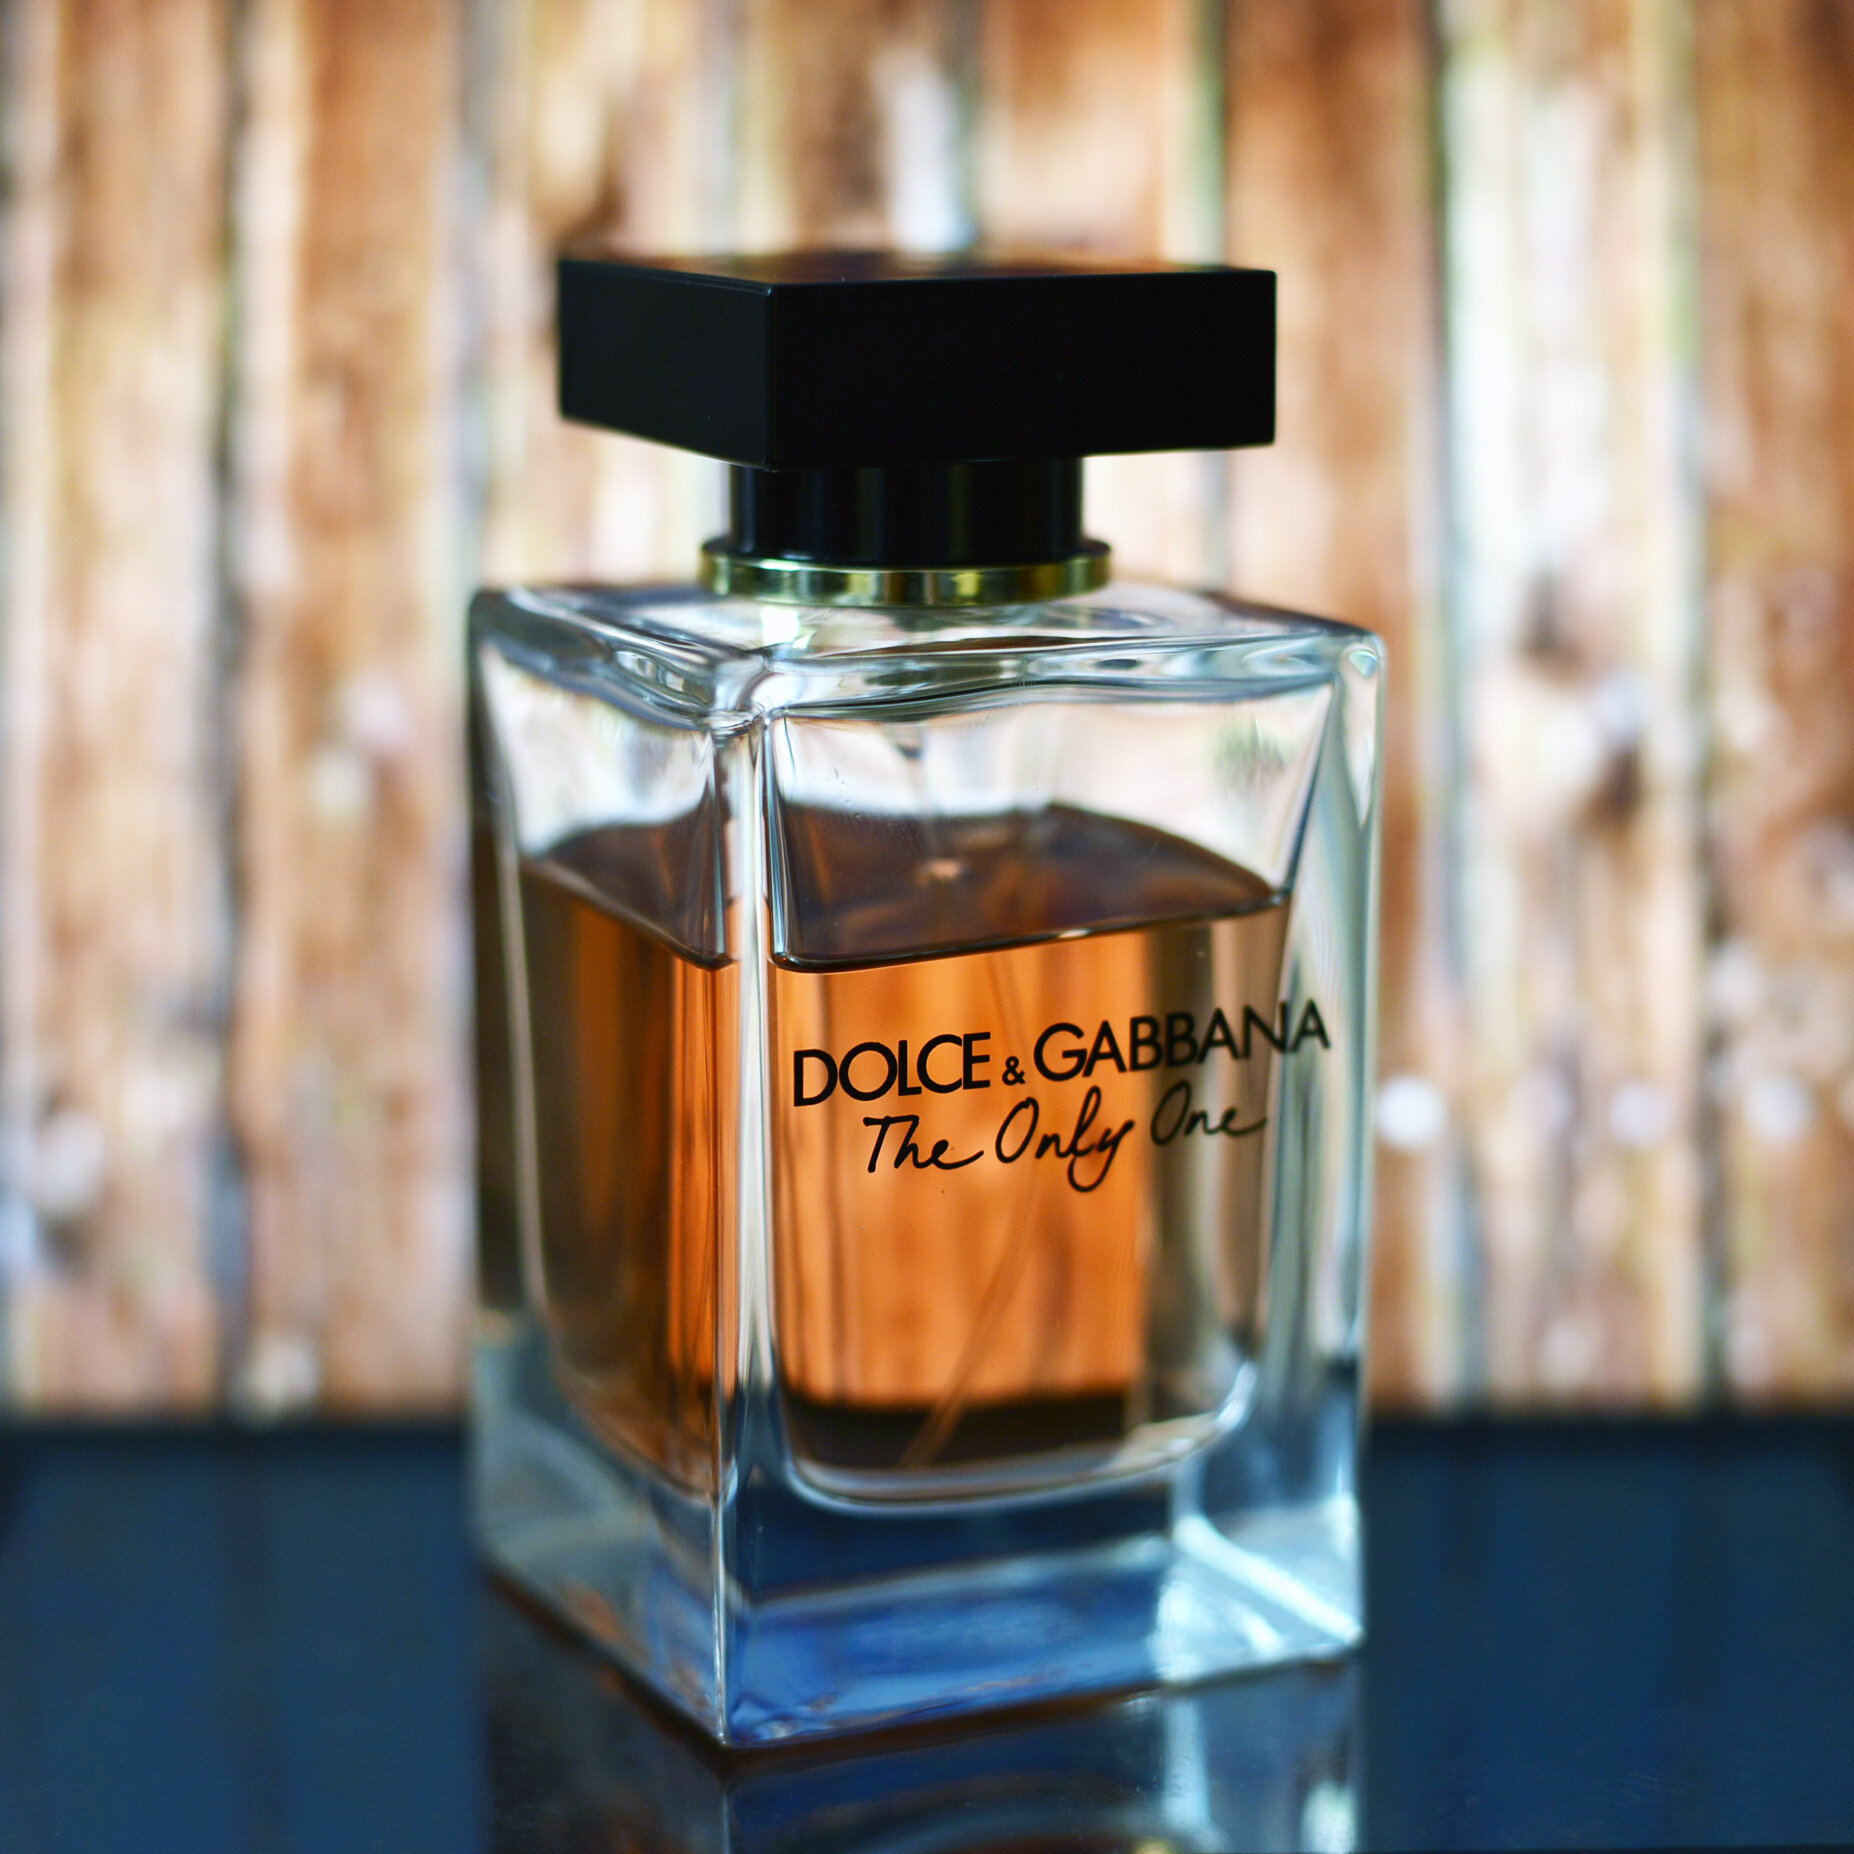
These are the initial photos I created using these backgrounds. On my camera I used a 50mm lens, shutter speed 1/60, aperture f2.8 and 400ISO. Using a lens with a smaller aperture will definitely get the best results as it creates a beautiful depth of field which will make the background blurry and the product sharp and in focus. If you are doing this using a mobile phone (on which you cannot alter the aperture) then use a blurry background on your laptop which will help create this effect for you.


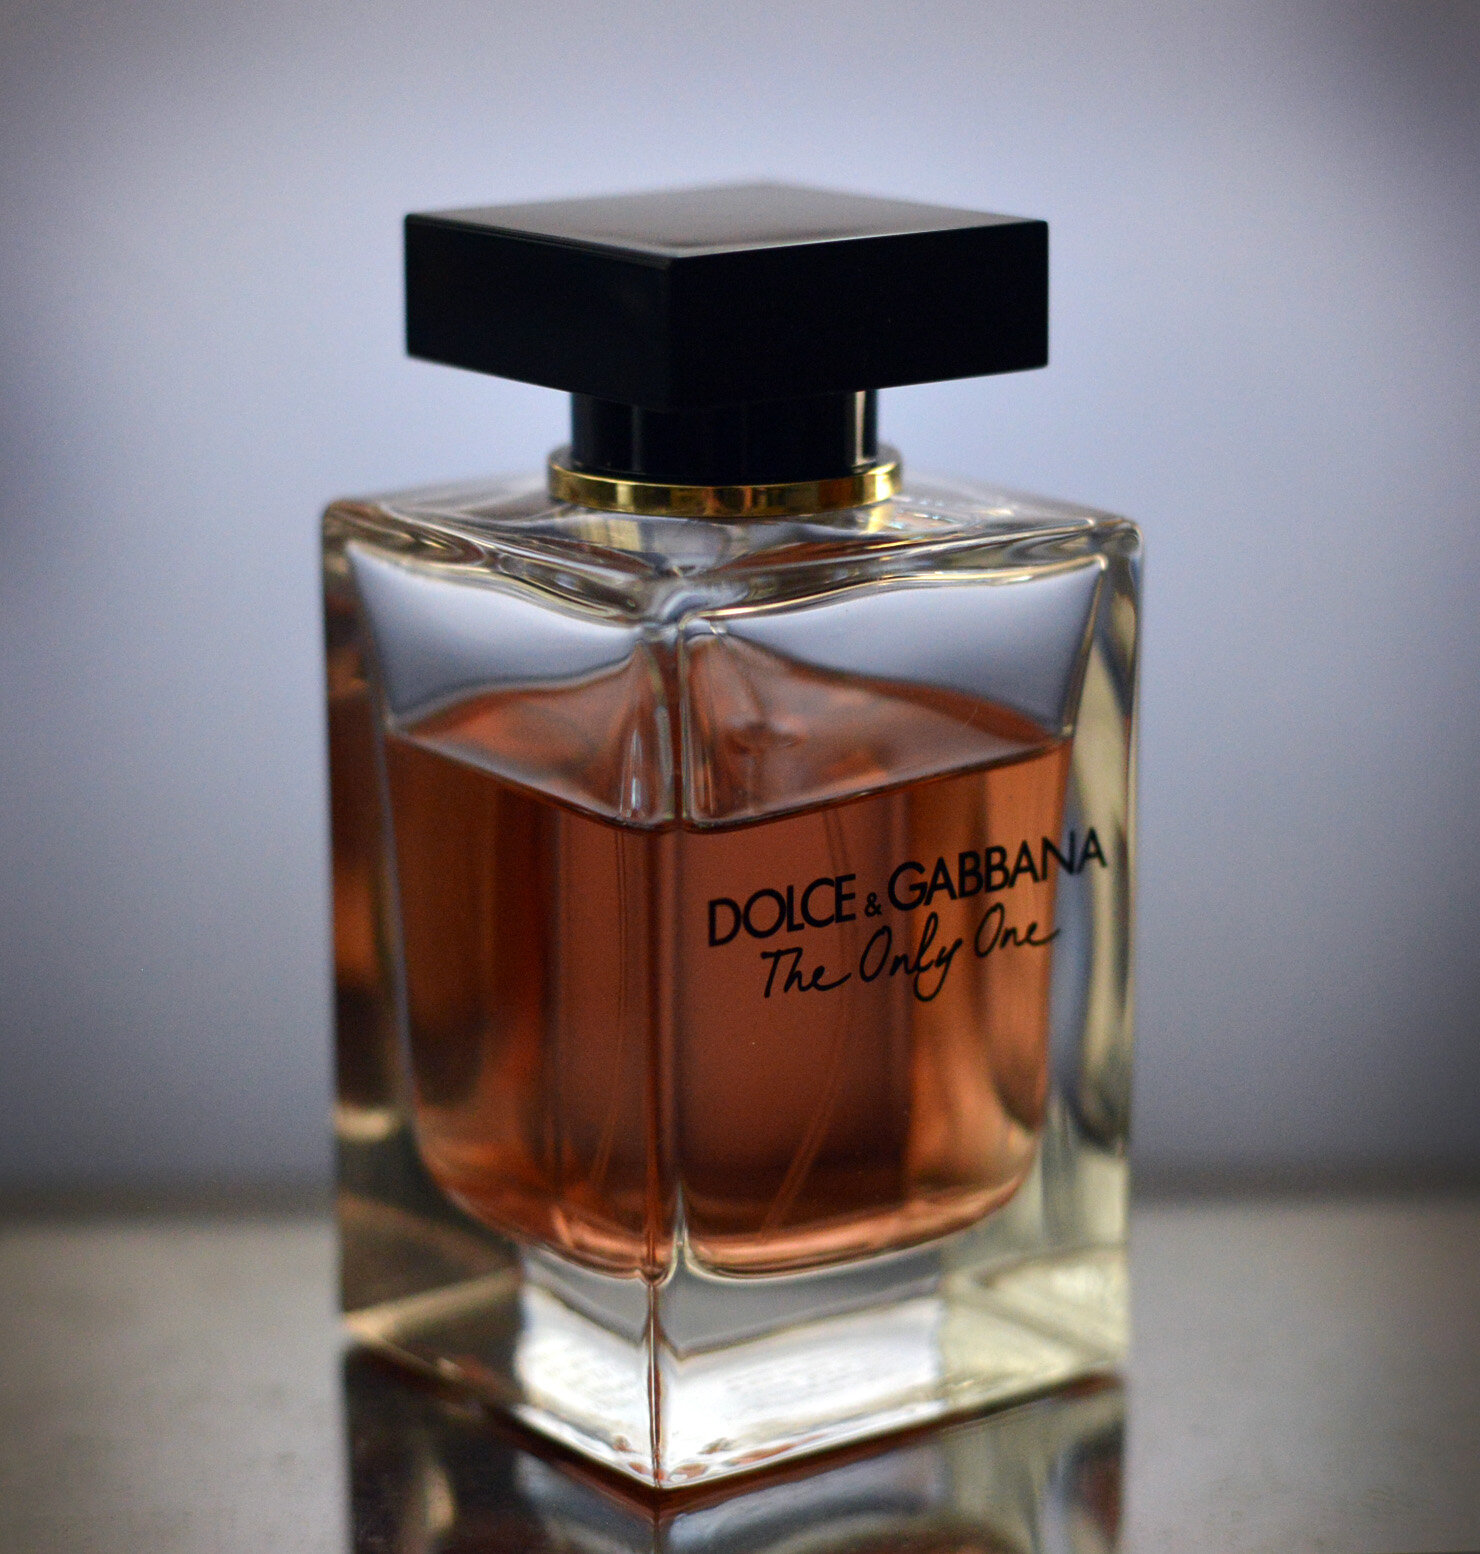

Now these look good but could definitely be better. If you bring in a directional light source, such as a flashlight, it makes the lighting a lot more dynamic and three-dimensional. You can have a play around with the best angles to aim it at. Below on the left is before lighting, and the right two photos are after lighting; you can see what a difference this makes.


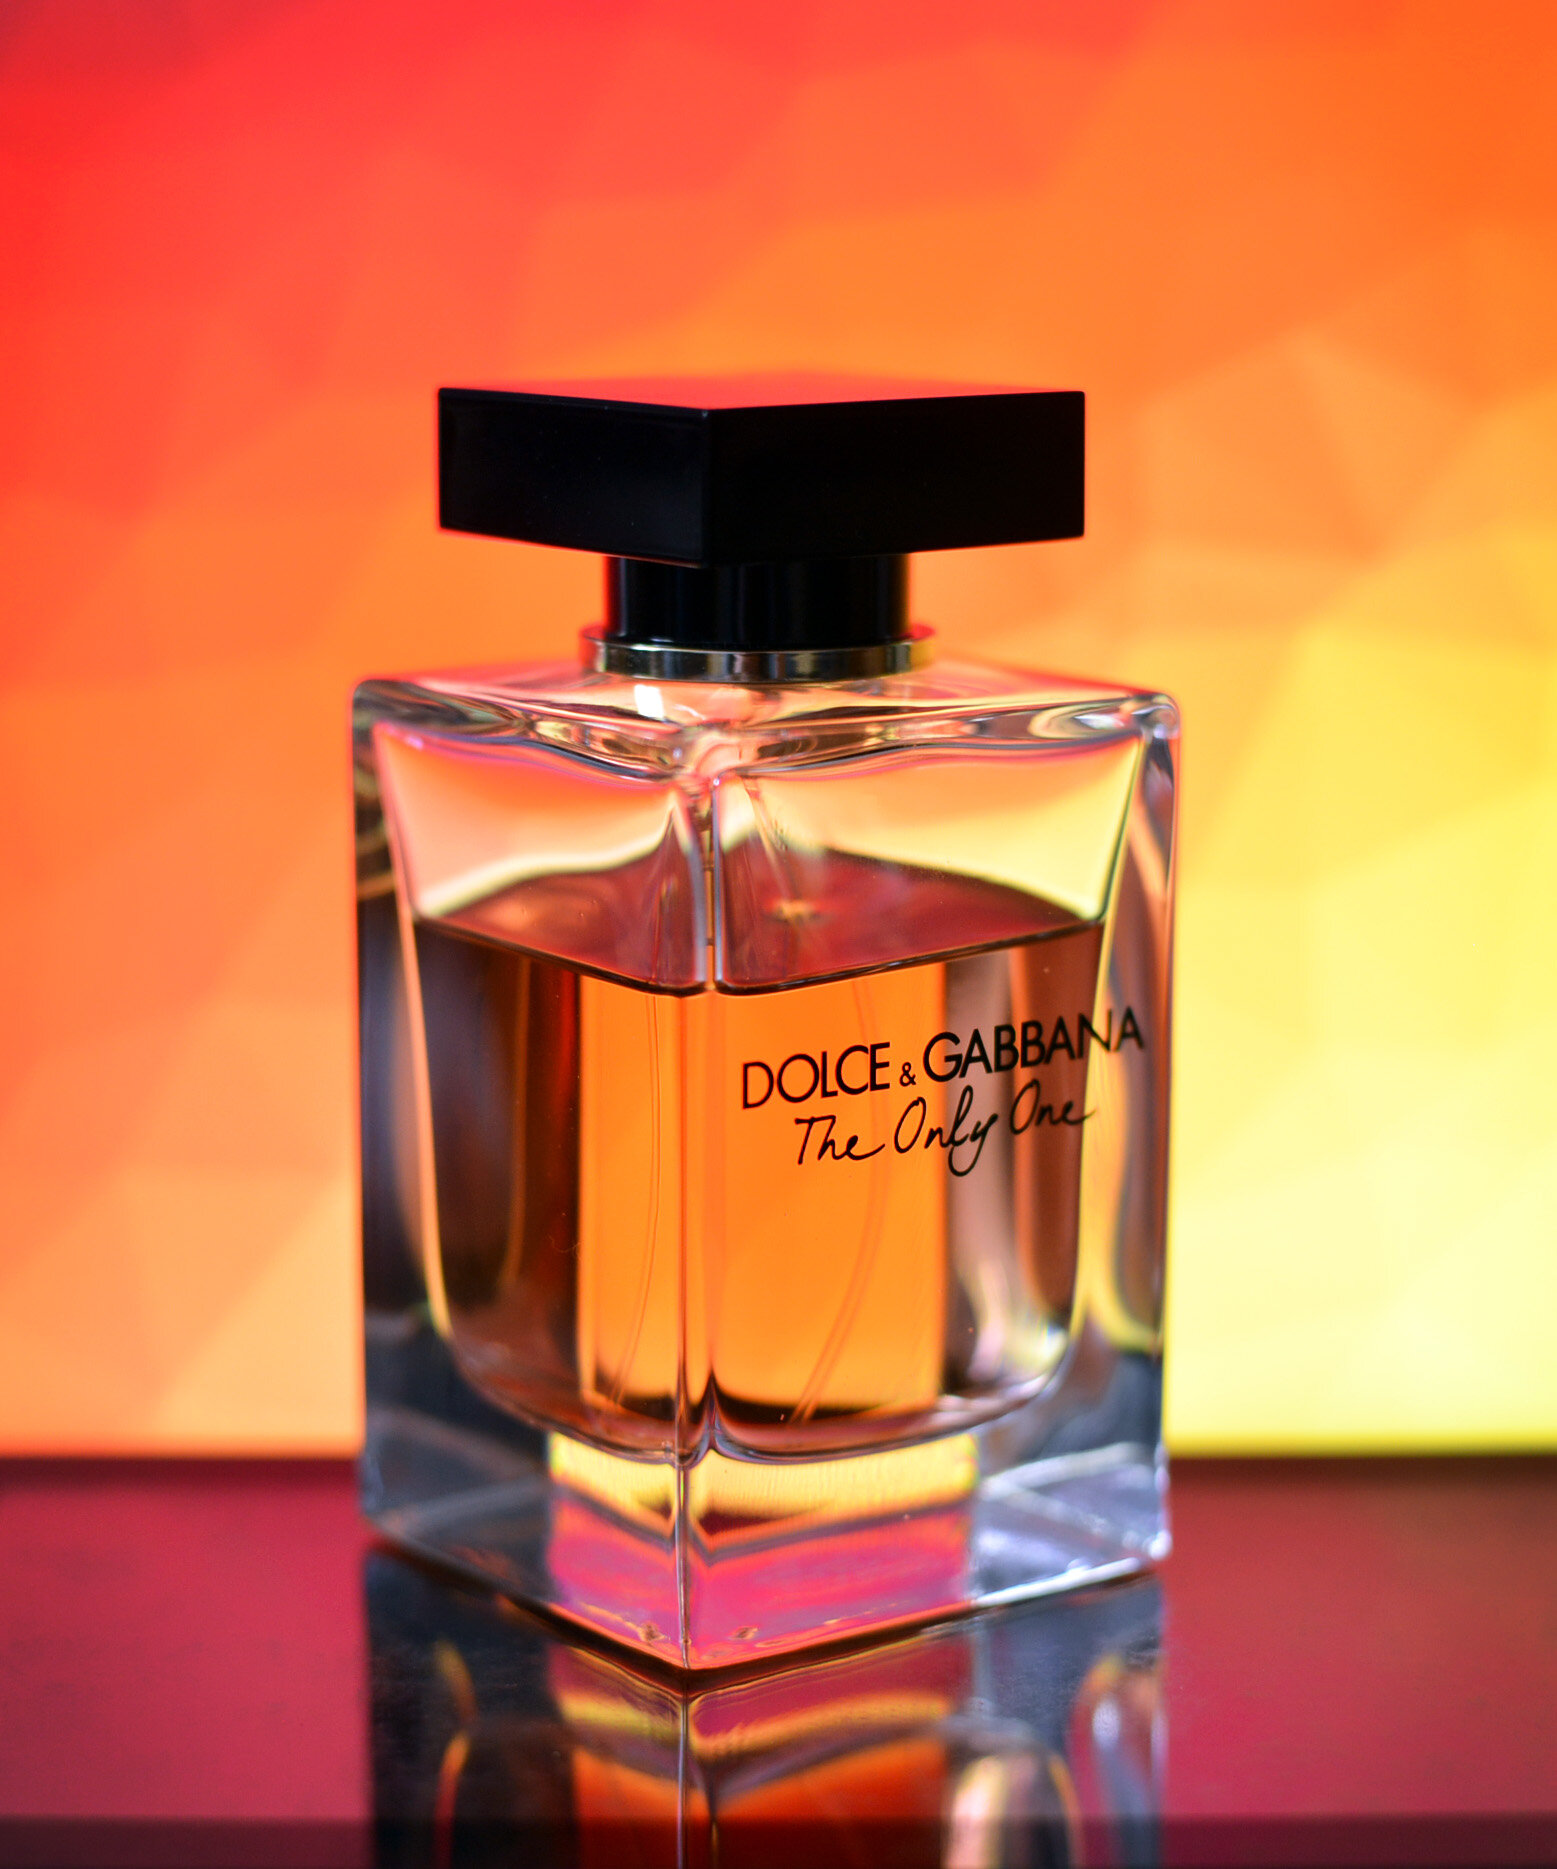
I carried on using different backgrounds with the torch now creating the fill light. All of these photos have very minimal editing; all I did was crop them tighter and tweak the colour slightly. I did this in Photoshop but you can easily do this on your phone as well. I really love the coloured background and the reflections it created. I also did a couple using tin foil as a background which came out quite well.


You can also be a bit more creative with your shots. If you have a sewing kit at home, take some thin thread and tie it to the product and hang it in front of the background. It’ll give the illusion that the product is floating. If you don’t have access to Photoshop to edit out the thread, make sure to use thread that is a similar colour to the background so it blends in. If you are using Photoshop, use the clone stamp or patch tool to edit out the thread and crop in tighter.


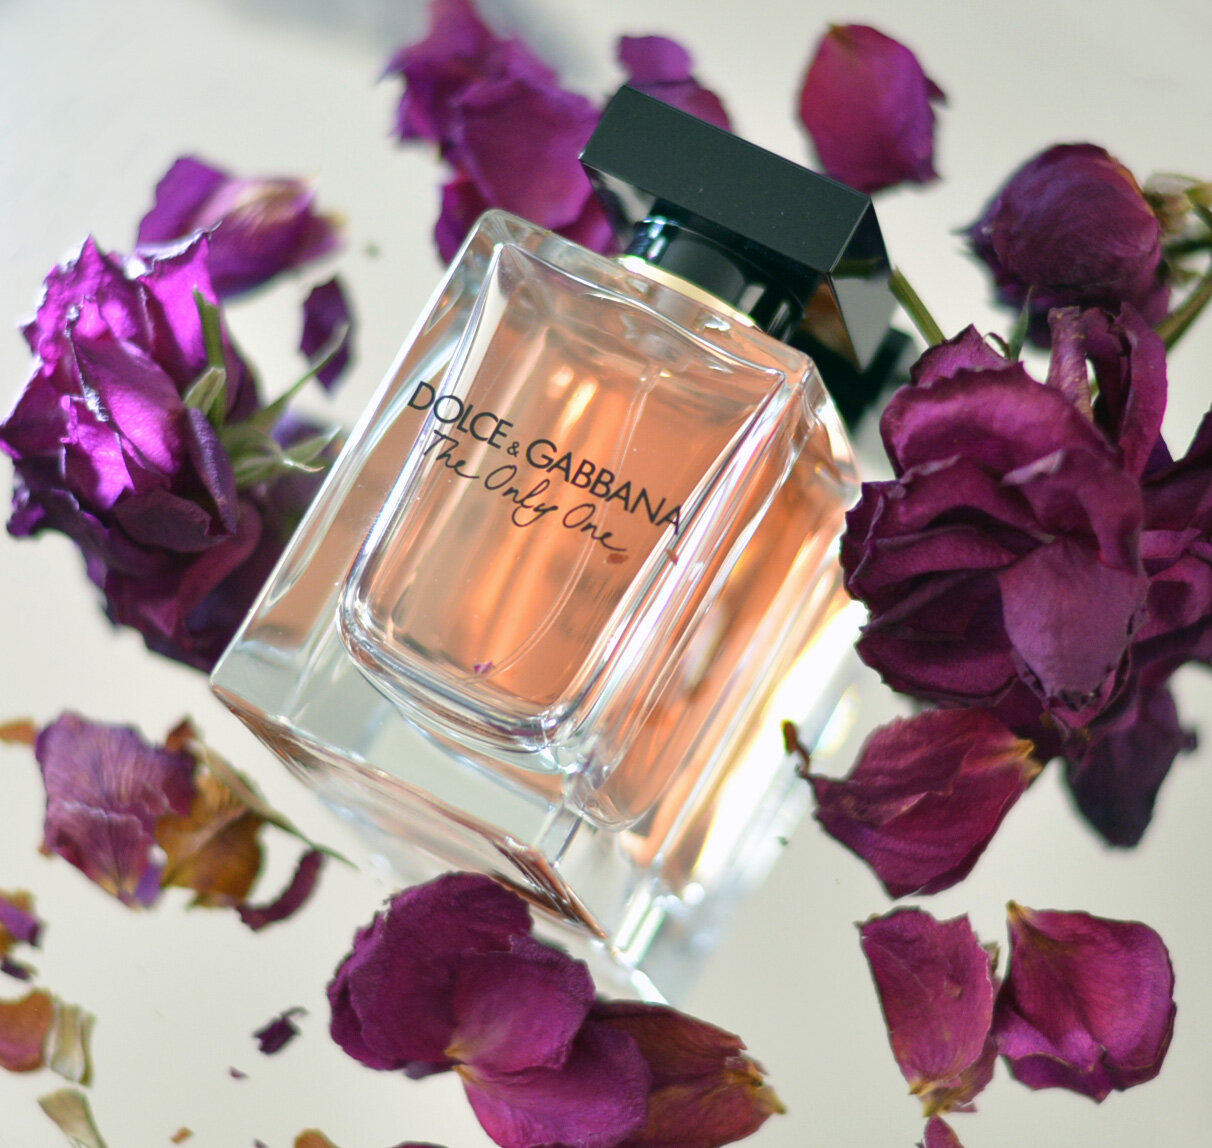
Next you can play around with other reflective surfaces, such as a mirror, and bring in extra elements. I chose dry rose petals. If you do bring in other objects, try to use things that compliment each other. For example, if you were photographing a shampoo bottle, you could use ingredients in the shampoo to surround it, like apples or limes, etc. Here is my set up and the photos I created from it.


Lastly, if you don’t have access to a laptop or want something a bit simpler, you can play around with different materials. Try playing around with textures. In this example I used the throw blanket from my bed. You can use any sort of material; you can also get a great effect by placing an object inside the sleeve of a jumper and taking the photo just inside the sleeve to create a tunnel effect.


You can also create a really effective light box effect with just a sheet of A4 paper. If you place the paper against a window (you may have to tape it) then place the object in front of it, the paper will act as a soft box and the light coming from outside will illuminate the object. It looks even better if you place another sheet of paper underneath the object too.


I hope you enjoyed these product photography hacks and have fun practising them at home. Hopefully it’ll help keep you occupied whilst stuck inside! If you liked this post, keep an eye out for my next instalment in the ‘photo projects at home’ series!
(All photos in this post are copyright of Aby-Joanne Photography).